Brow Lamination Before & After | QM Makeup
Discover stunning brow lamination before & after transformations with QM Makeup! Our professional brow lamination kit delivers flawless, long-lasting results for perfectly sculpted brows. See the difference and elevate your beauty routine today.
Brow lamination has quickly become a go-to solution for achieving fuller, well-groomed eyebrows without the need for daily styling. If you've ever struggled with unruly, thin, or asymmetrical brows, this treatment can help you achieve a sleek and lifted look that lasts for weeks. But what exactly happens before and after brow lamination? How long do the results last, and how should you take care of laminated brows?
In this guide, we’ll walk you through the brow lamination process, showcase its transformative effects, and provide expert aftercare tips to maintain your flawless brows.

What Is Brow Lamination?
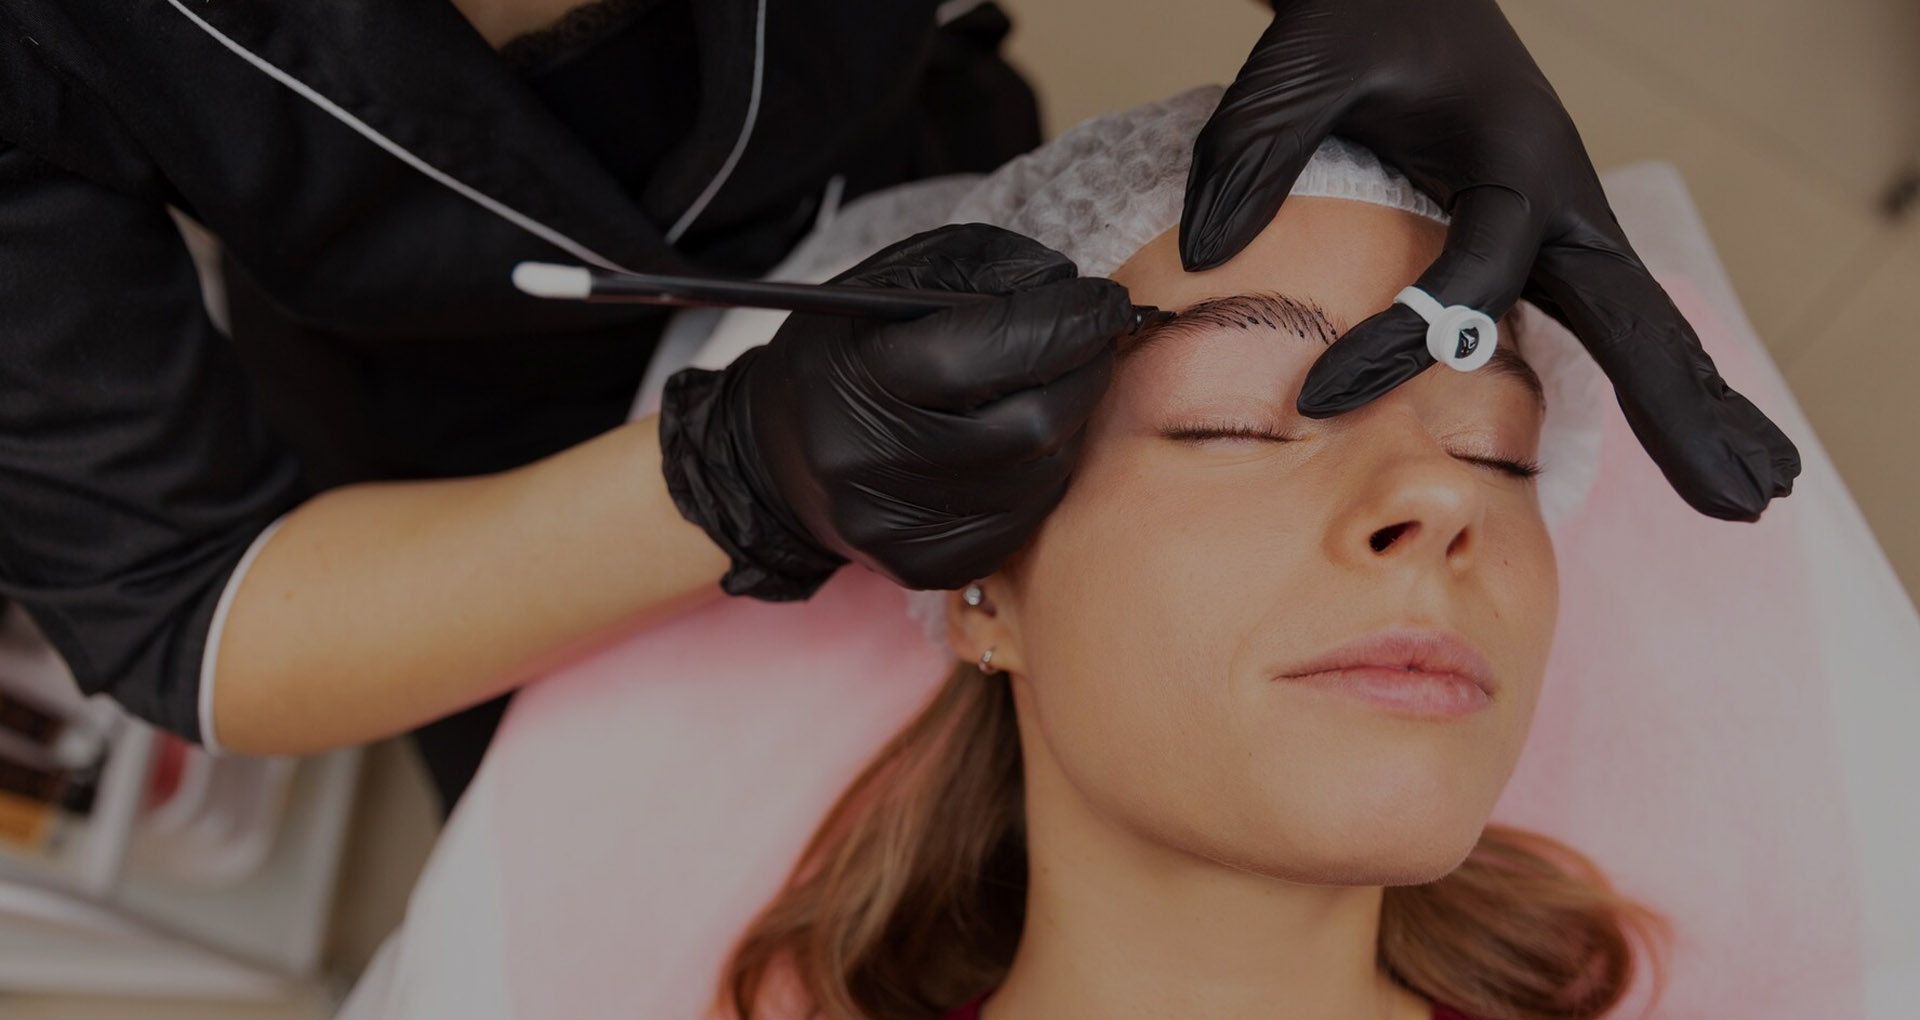
Brow lamination is a semi-permanent brow grooming technique that involves restructuring eyebrow hairs to stay in a uniform, lifted position. The treatment works by applying a gentle chemical solution that softens the hair structure, allowing the brows to be shaped and set into place. This process enhances brow volume and symmetry, making them appear fuller and more defined.
Unlike microblading, which involves tattooing pigment into the skin, brow lamination focuses solely on styling the existing brow hairs. The procedure is non-invasive and typically takes 30 to 45 minutes, making it a quick and effective solution for those seeking a polished look without commitment.
Who Benefits Most from Brow Lamination?
Brow lamination is ideal for:
-
People with sparse or uneven brows who want a fuller appearance.
-
Those with coarse or downward-growing hairs that need reshaping.
-
Anyone looking for a low-maintenance alternative to brow gels and pencils.
However, individuals with highly sensitive skin or certain skin conditions should consult a professional before undergoing the treatment.

Brow Lamination Before and After
Before: What to Expect
Before undergoing a brow lamination treatment, proper preparation ensures optimal results:
-
Avoid Retinol and Harsh Skincare Products—Stop using exfoliating or active skincare ingredients (like retinoids and AHAs) around the brow area at least 48 hours before the procedure to prevent irritation.
-
Come with Clean Brows—Remove all makeup, oil, and dirt from the eyebrows before the session.
-
Consult with a technician. Discuss your desired brow shape and ensure that you’re a suitable candidate for the treatment.
After: The Visible Difference
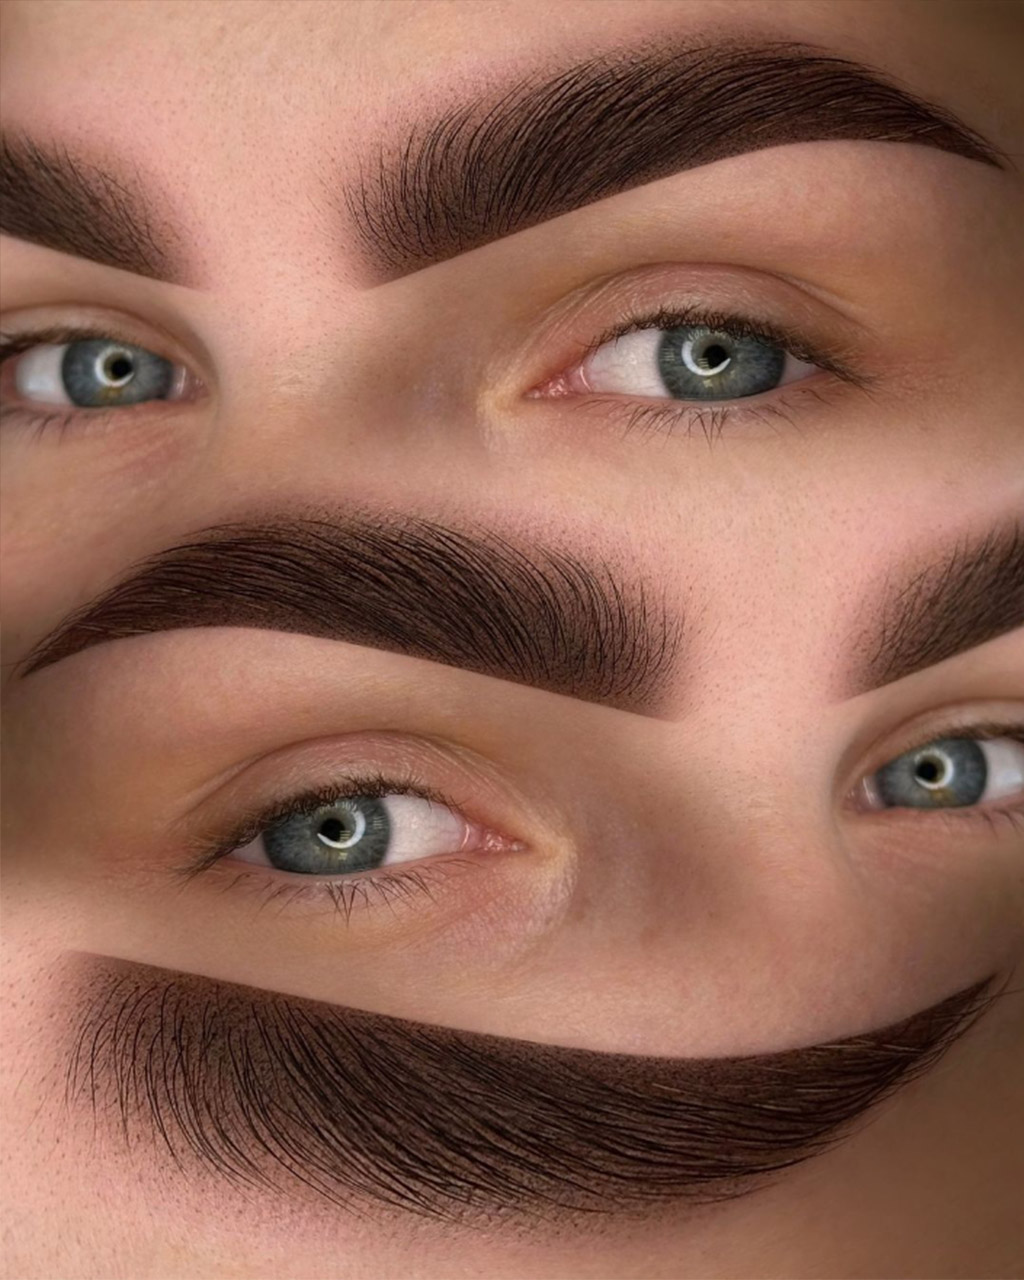
Immediately after the procedure, your brows will appear noticeably lifted, fuller, and more symmetrical. The results often resemble the effect of using a strong brow gel—except they stay in place for weeks without any daily maintenance.
For thin brows, lamination can create an illusion of density by evenly distributing the hairs and setting them in a way that maximizes volume. Those with naturally thick brows will enjoy a more structured and defined look.
How Long Do Brow Lamination Results Last?
The effects of brow lamination typically last between 4 and 8 weeks, depending on factors such as:
-
Hair Growth Cycle—Faster-growing hair may cause the results to fade sooner.
-
Skin Type – Oily skin can weaken the lamination effect faster than dry skin.
-
Aftercare Routine—Proper maintenance can help extend the longevity of the treatment.
If you’re looking for an alternative treatment that lasts longer, you might consider microblading, though it involves a more permanent change to your brows.
Brow Lamination Aftercare Tips
To maximize the longevity of your brow lamination, follow these expert-recommended aftercare tips:
-
Avoid Water and Sweat for 24 Hours—Keep your brows dry for the first day to allow the setting solution to fully bond with the hairs.
-
Skip oil-based skincare products—oils can break down the lamination solution, causing results to fade faster.
-
Brush Your Brows Daily—Use a spoolie brush to keep your brows in the desired shape and prevent tangling.
-
Hydrate Your Brows—Apply a nourishing serum or castor oil to maintain hair health and flexibility.
If you’ve had brow tinting done alongside lamination, be extra cautious with exfoliating products, as they can cause the color to fade prematurely.
Best aftercare products recommended: QM-makeup aftercare products
Brow lamination is an excellent option for achieving effortlessly styled, fuller-looking brows with minimal upkeep. By following the proper aftercare routine, you can enjoy perfectly shaped brows for up to two months.
For professionals looking to offer premium brow lamination services, partnering with a trusted OEM beauty supplier is key. QM-Makeup provides high-quality brow lamination kits and professional-grade solutions, ensuring safe and effective results for beauty salons and stylists. Contact QM-Makeup today to explore their industry-leading beauty solutions!

The Ultimate Guide to Tattoo Aftercare Cream: Healing & Vibrancy for 2026 and Beyond

Lash Lift and Tint 2026: Your Ultimate Guide to Defined, Curled Lashes

Best Numbing Cream for Tattoos 2026: The Ultimate Guide for Pain-Free Ink

Top Microblading Brow Pens for 2026: Precision, Pigment, and Professional Results

Ultimate Tattoo Aftercare Instructions 2026: Your Expert Guide to Flawless Healing

Mastering Microblading: Your Ultimate Guide to Essential Tools & Supplies
Powder Pigment
What is the difference between inorganic and organic permanent makeup ink?
The main difference between organic and inorganic pigments lies in their chemical composition, properties and performance. Here are some key points to distinguish them:
Chemical composition:
Organic tattoo pigment are composed of carbon-based compounds, usually containing carbon, hydrogen, oxygen and other elements (such as nitrogen, sulfur, etc.). Their molecular structure is complex and usually has organic chemical characteristics.
Inorganic tattoo pigments are mainly composed of inorganic compounds and usually do not contain carbon. Such pigments may contain metal oxides, salts, minerals, etc.
Color saturation:
Organic permanent makeup pigment usually have higher color saturation and brighter colors. Inorganic permanent makeup pigment are generally more stable in color, have strong hiding power, and have low color saturation.
Stability:
Organic cosmetic tattoo pigment have poor stability in light, heat and chemical environments and may fade. Inorganic pigments are generally more stable and resistant to high temperatures and chemical erosion.
Permeability:
Organic pigments are usually composed of organic compounds, which often have good water solubility and can dissolve in water faster. Therefore, organic pigments have stronger permeability than inorganic pigments.
In general, organic and inorganic pigments have their own advantages and disadvantages and are suitable for different application scenarios and needs. In order to take into account the brightness, saturation and stability of the ink, most tattoo supplies ink currently use a mixed formula of organic and inorganic.
Lash Glue
Can the lifting glue also be used for eyebrows lifting?
Yes, our eyelash lifting glue is safe, gentle, non-irritating and can be used in direct contact with the skin, so it can also be used for eyebrow lifting projects.
Eyelash Perming Glue Balm
Easy to do by myself?
Yes, you could use by yourself DIY at home.
Eyelash lifting
What is the MOQ for customization?
For logo customization, the MOQ is 100 pcs/design; for other in-depth customization, the MOQ will be based on your specific requirements.
Tattoo aftercare
How often should I use the microblading repair product for best tattoo aftercare results?
It is recommended to apply the repair twice a day, morning and evening, for 1-2 weeks for best aftercare for tattoo results. Continuous use will help promote healing and extend the life of semi permanent makeup tattoos.

5 Minutes Secondary Numbing Essence

U-Curved Microblading Needle Blade

Classic Pre Inked Eyebrow Mapping String 30m
Achieve flawless brows with QM Makeup's Professional Pre Inked Eyebrow Mapping String 30m. This High Quality pre-inked mapping string ensures precise, clean lines for perfect brow mapping every time. An essential tool for professionals seeking efficiency and accuracy in their work.

Japan Professional Lash Lift Adhesive

Super Numb Tattoo Cream

Best Eyelash Extension Cleaning Shampoo

Microblading Pre-inked Mapping String Line 10m

Japan Strong Sticky Lash Lift Glue
What product do we have?


Instagram
Facebook
YouTube