


how to use tattoo practice skin | QM Makeup Guide
How to Use Tattoo Practice Skin for Semi Permanent Makeup Mastery
Mastering semi permanent makeup techniques requires dedication and practice. Utilizing tattoo practice skin is an essential step for professionals looking to hone their skills without the risk of making mistakes on clients. This article outlines the key aspects of using tattoo practice skin effectively, addressing common concerns and providing expert advice to enhance your semi permanent makeup proficiency.
Why Use Tattoo Practice Skin?
- Skill Development: Practice skin offers a safe way to experiment and refine techniques before applying them to clients.
- Confidence Building: Consistent practice on tattoo practice skin can boost your confidence and precision.
- Error-Free Learning: Mistakes on practice skin do not have consequences, allowing for a more relaxed learning environment.
Selecting the Right Tattoo Practice Skin
- Material Quality: Look for high-quality silicone practice skin that mimics the texture and elasticity of human skin. According to a study by the International Journal of Cosmetic Science, silicone-based practice skins offer the most realistic feel (Source: IJCS, 2020).
- Thickness: Choose a thickness that closely resembles human skin, typically around 1mm to 2mm.
- Size and Shape: Consider practice skins in various sizes and shapes to accommodate different areas of the face, such as eyebrows, lips, and eyelids.
Preparing Tattoo Practice Skin for Use
- Cleaning: Before use, clean the practice skin with a mild soap and water solution to remove any manufacturing residues.
- Stretching: Gently stretch the practice skin to mimic the tension you would encounter on a client's face.
- Marking: Use a washable marker to draw guidelines or designs on the practice skin to practice specific techniques.
Best Practices for Using Tattoo Practice Skin
- Technique Replication: Practice the exact techniques you plan to use on clients, including needle depth and angle.
- Consistency: Regular practice on tattoo practice skin can significantly improve your consistency and muscle memory.
- Feedback: Seek feedback from mentors or peers by sharing photos or videos of your practice sessions on practice skin.
Maintaining and Storing Tattoo Practice Skin
- Cleaning After Use: After each practice session, clean the practice skin with soap and water, then let it air dry.
- Storage: Store practice skin in a cool, dry place away from direct sunlight to prevent degradation of the material.
- Longevity: With proper care, high-quality practice skin can last for months, providing ample opportunity for practice (Source: Permanent Makeup Magazine, 2021).
Common Challenges and Solutions
- Ink Absorption: If the practice skin absorbs too much ink, it may be too porous. Switch to a higher-quality practice skin that simulates human skin better.
- Skin Slippage: If the practice skin slips during use, ensure it is properly secured or consider using a practice skin with a non-slip backing.
- Lack of Realism: For a more realistic experience, some professionals layer practice skin over a 3D model head to simulate facial contours (Source: PMU World, 2022).
By following these guidelines and incorporating regular practice on tattoo practice skin into your routine, you can elevate your semi permanent makeup skills and provide exceptional results for your clients.
Meta Title:Master Tattoo Practice Skin for Semi-Permanent Makeup | QM Makeup
Meta Description:Learn how to use tattoo practice skin effectively for semi-permanent makeup mastery. Elevate your skills with QM Makeup's expert tips.
Summary:Discover the best practices for using tattoo practice skin to enhance your semi-permanent makeup skills. From selecting the right material to maintaining your practice skin, this article provides comprehensive guidance for professionals in the field. QM Makeup offers expert insights to help you achieve mastery and deliver outstanding results to your clients.
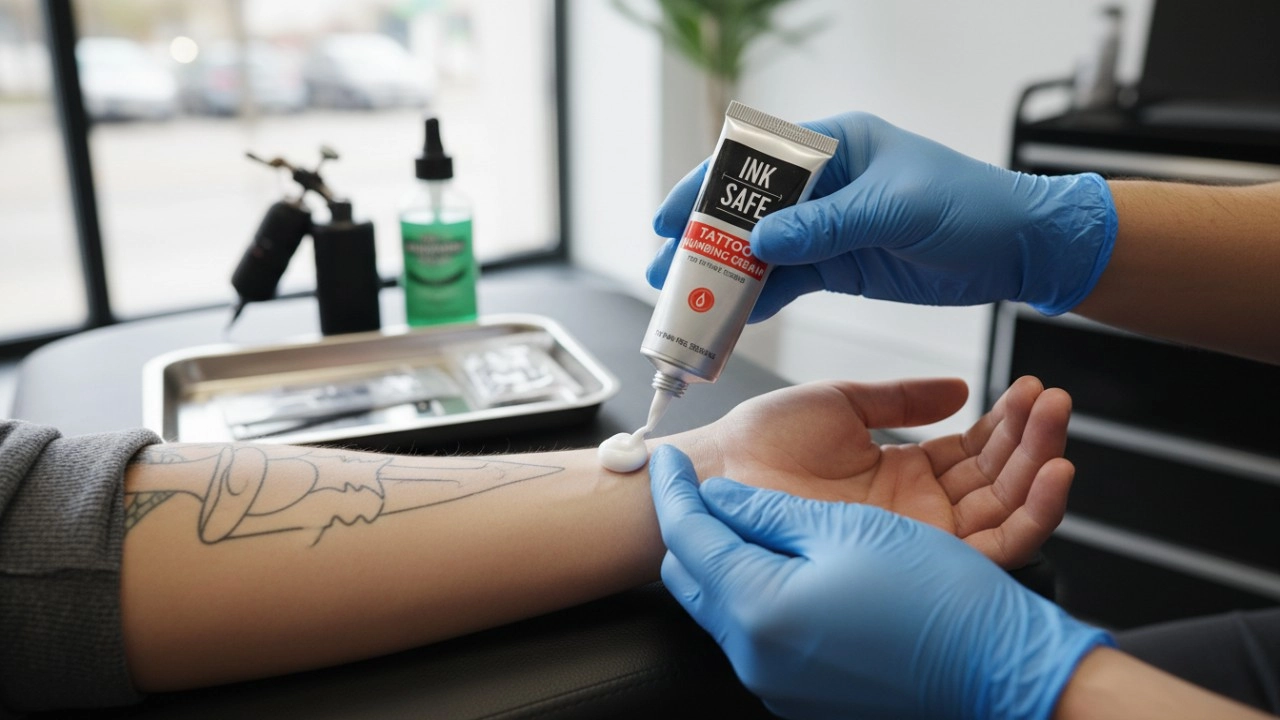
10 Best Numbing Creams for Tattoos in 2026: Ranked by Pain Relief and Safety
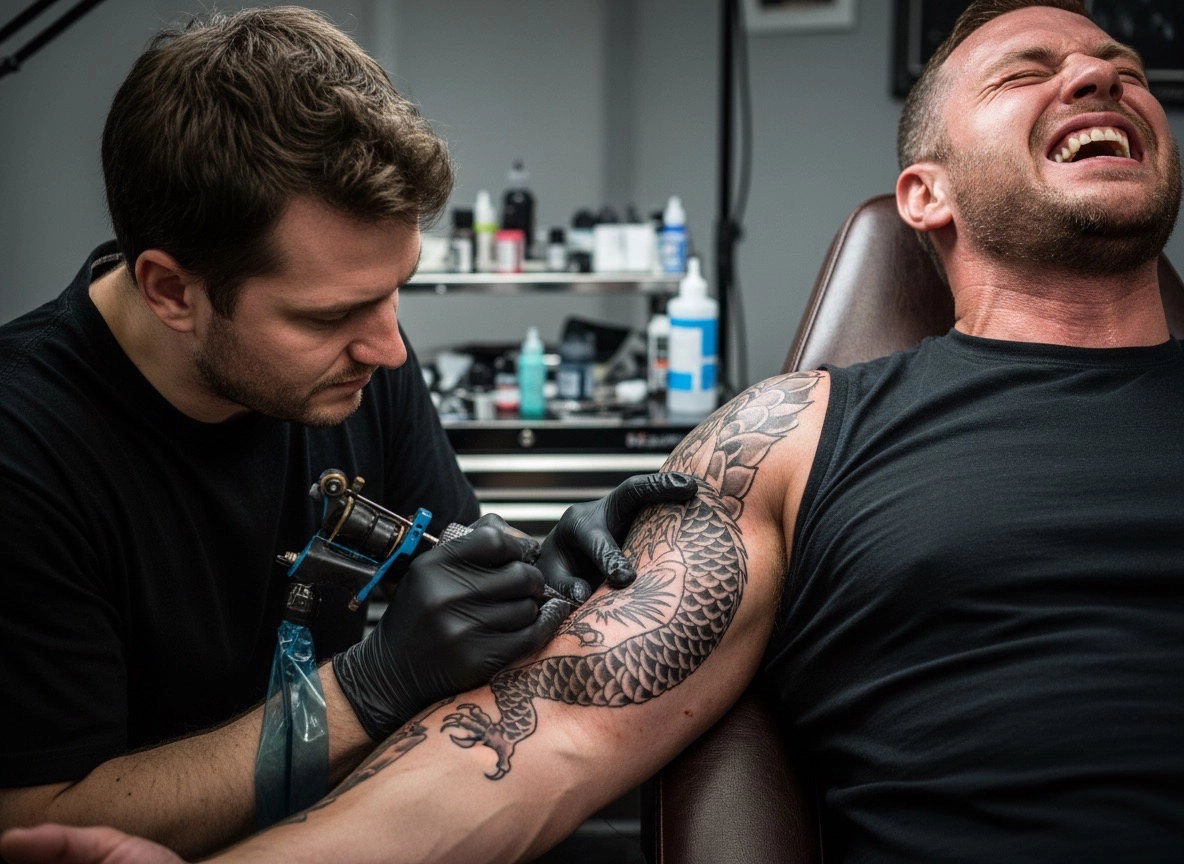
Does Numbing Cream Work for Tattoos? The Ultimate Guide to a Pain-Free Session
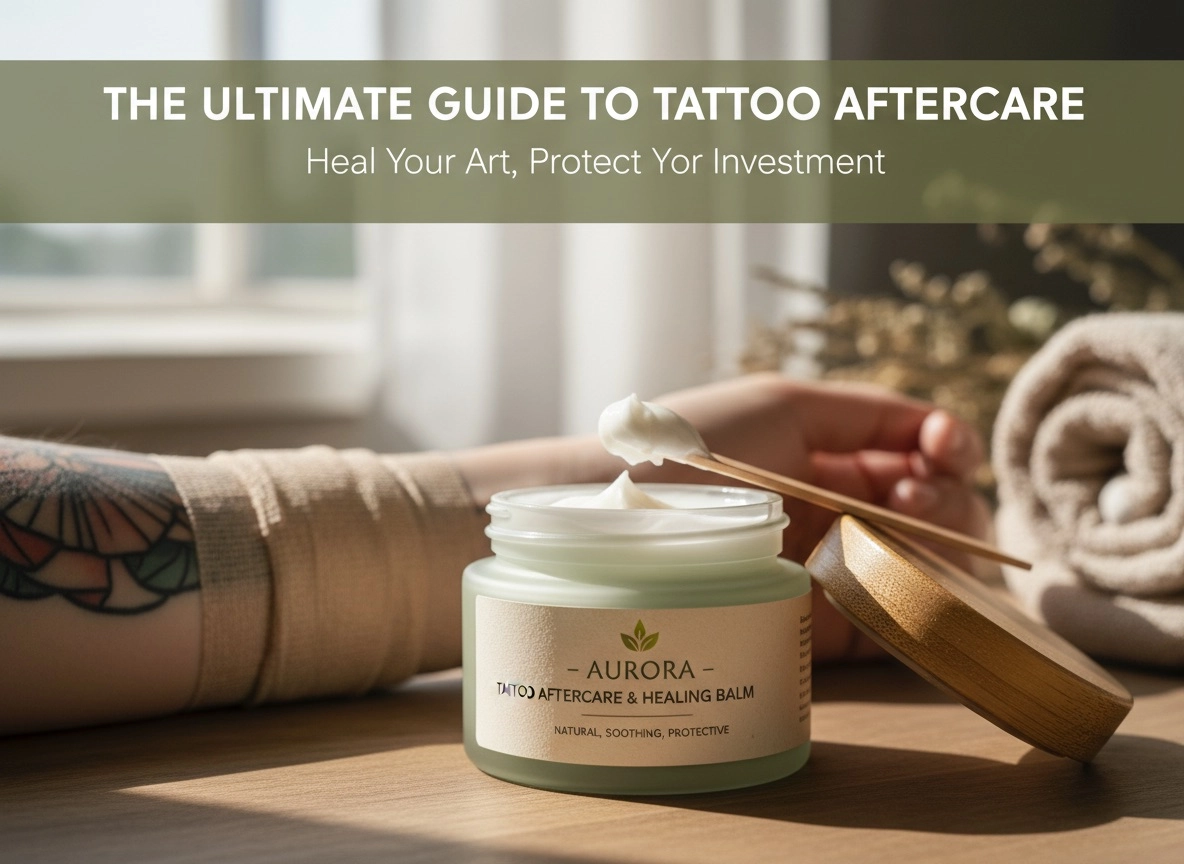
The Ultimate Guide to Tattoo Aftercare Cream: Healing & Vibrancy for 2026 and Beyond
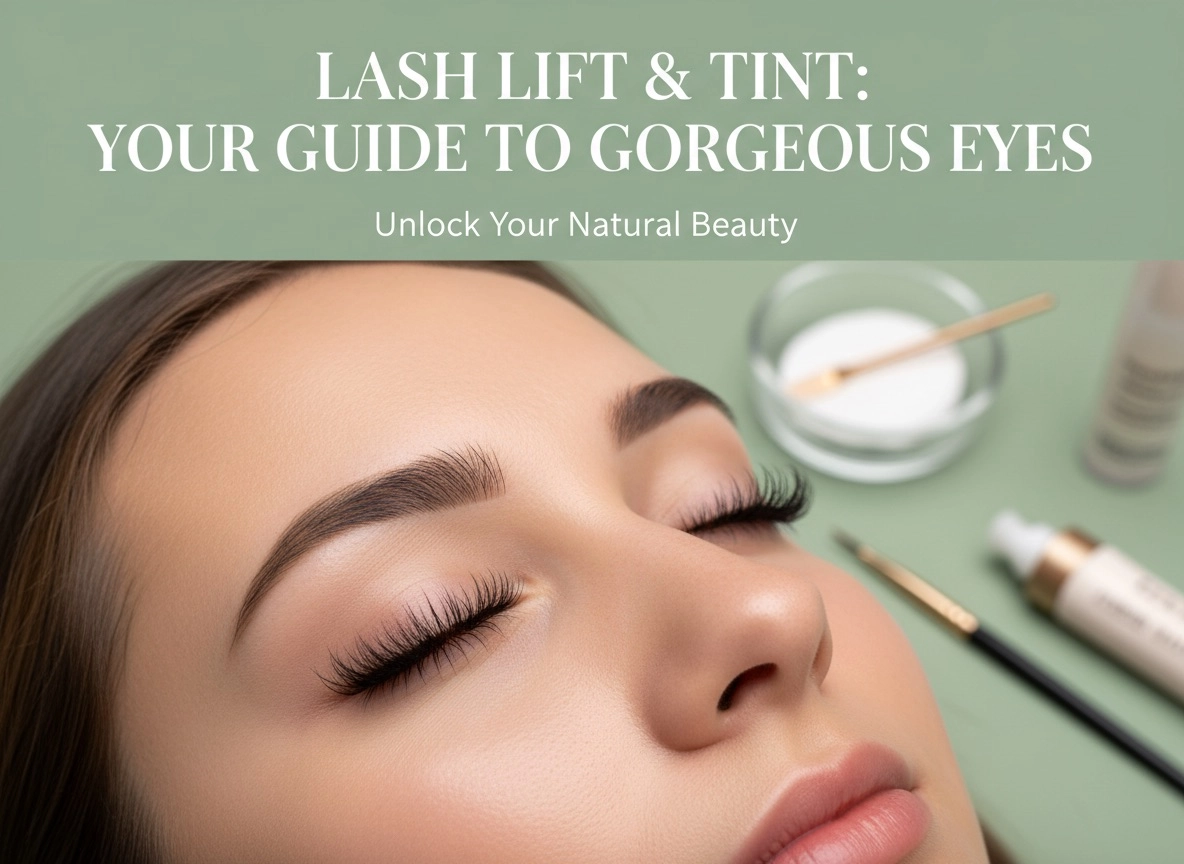
Lash Lift and Tint 2026: Your Ultimate Guide to Defined, Curled Lashes
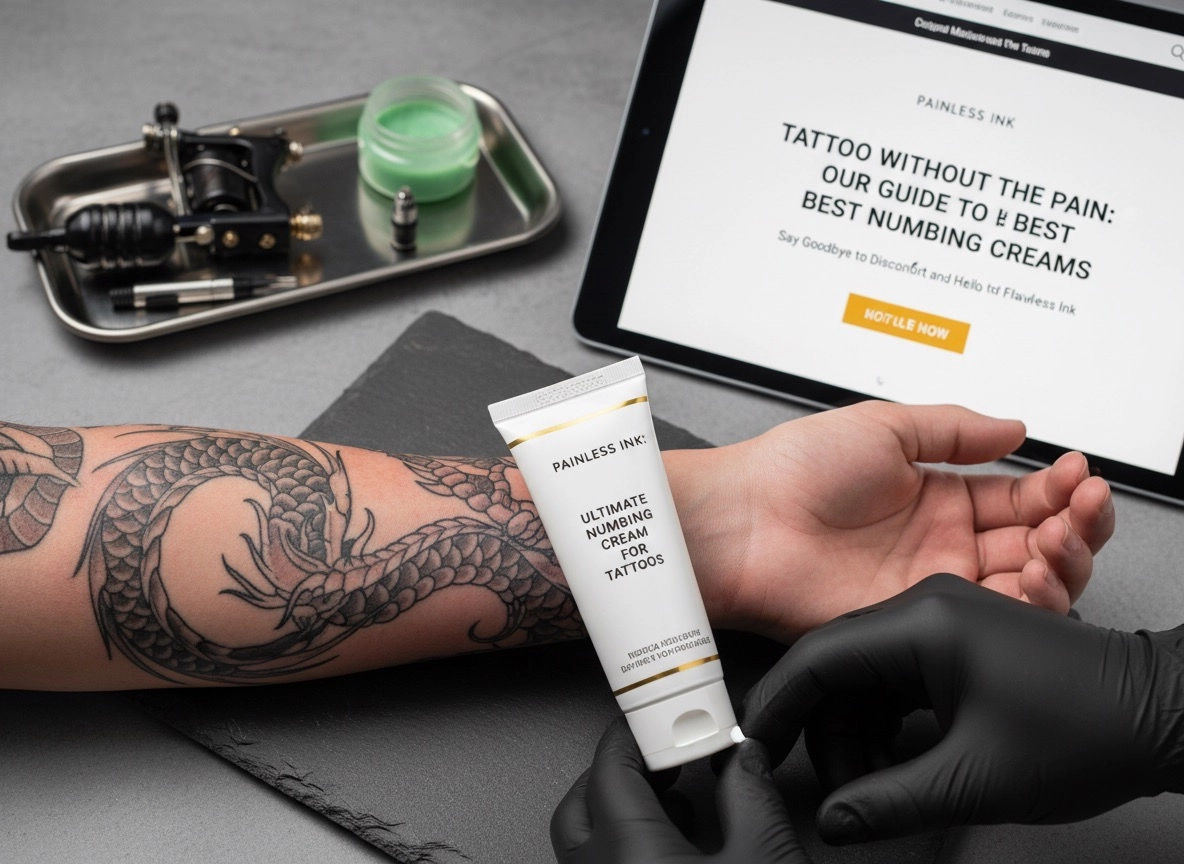
Best Numbing Cream for Tattoos 2026: The Ultimate Guide for Pain-Free Ink
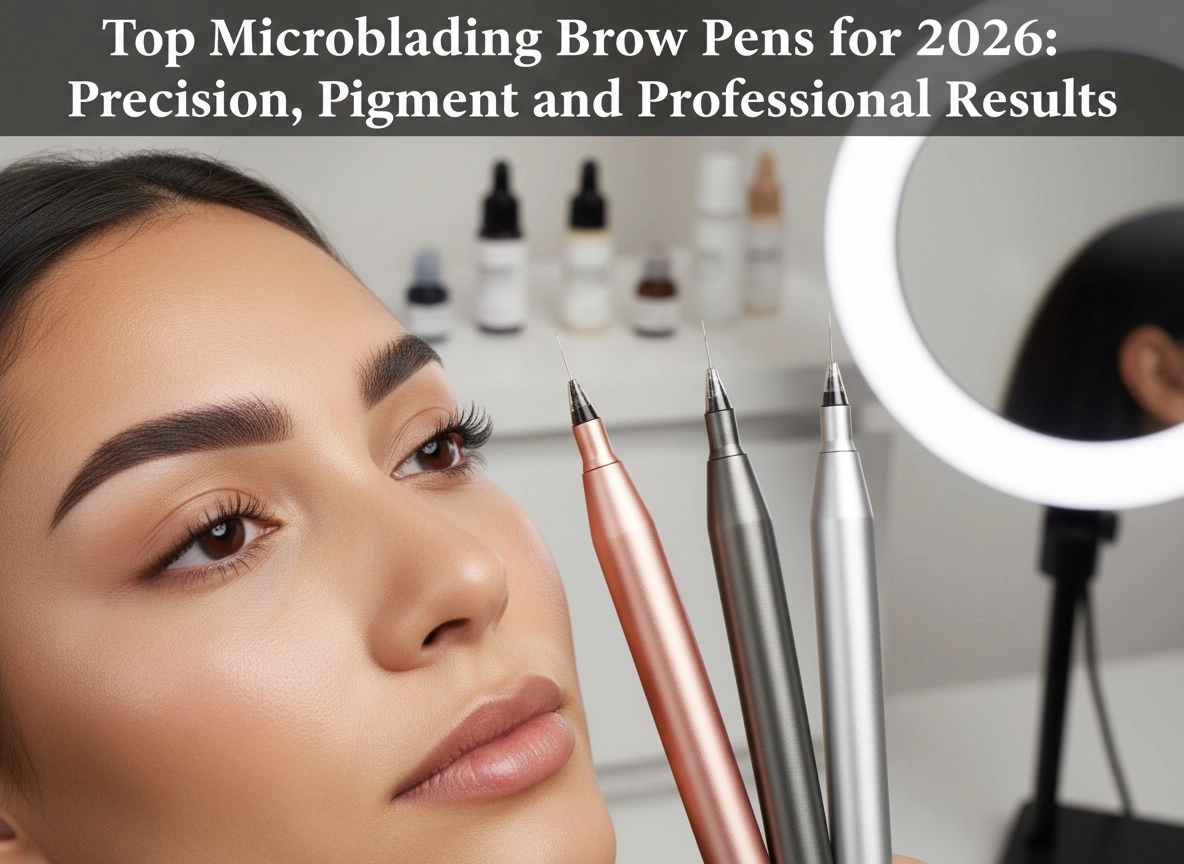
Top Microblading Brow Pens for 2026: Precision, Pigment, and Professional Results
Pigment Ink
What is the MOQ for customization ?
For label customization, the MOQ is 100pcs; for packaging customization, the MOQ is 1000pcs; for other in-depth customization, the MOQ will be based on your specific requirements.
250g tattoo cream
How long does the numbing product last?
Different numbing products have different duration of effect. For example, body numbing cream lasts longer than eyebrow numb tattoo cream. For the specific duration, please check the product description or contact us for more details.
Products
How many applications does the glue balm for lash lift and brow lamination?
About 15-20 applications.
Sample
Can I have samples before my order?
Yes, we can provide samples before you place your order. Please note that there might be a nominal charge for the samples, and you'll be responsible for the shipping costs.
For customized products,we may charge fee of sample, sample charge will be refundable upon confirmation of the order.
Eyelash curling
How do I make diy lash perm?
1. Clean the eyelashes and skin around the eyes with clean water and cotton pads
2. Apply glue to the back of the silicone perm rod and stick it on the upper eyelid. After the silicone perm rod is fixed on the eyelid, cover the lower eyelashes with the eye patch.
3. Apply glue to the surface of the silicone perm rod, use a Y-shaped brush or a separate tool to stick the eyelashes on the silicone perm rod, and comb the eyelashes straight to ensure that the eyelashes do not overlap. After the glue dries and fixes the position of the eyelashes, proceed to the next step.
4. Apply the perm agent to the eyelashes to soften the eyelashes, cover with plastic wrap, and wait for 8 to 10 minutes.
5. Remove the perm agent, apply the neutralizer to shape the eyelashes, cover with plastic wrap, and wait for 8 to 10 minutes
6. Remove the neutralizer, clean the eyelashes and residual glue with a detergent, and remove the silicone perm rod and eye patch.
7. Apply Collagen conditioner to nourish the eyelashes, and you're done!
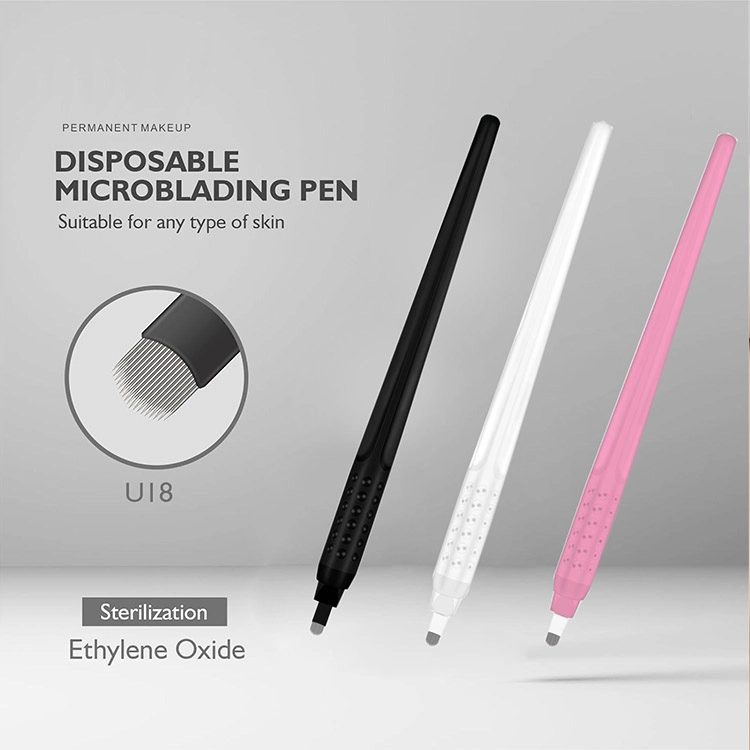
Disposable Microblading Pen

PMU eyebrow Design Golden Ratio Brow Ruler
Achieve perfect symmetry with QM Makeup’s PMU Eyebrow Design Golden Ratio Brow Ruler. This precise brow ruler uses the golden ratio to create flawless, balanced eyebrow designs. Ideal for professional eyebrow design and PMU artists seeking accuracy and elegance.
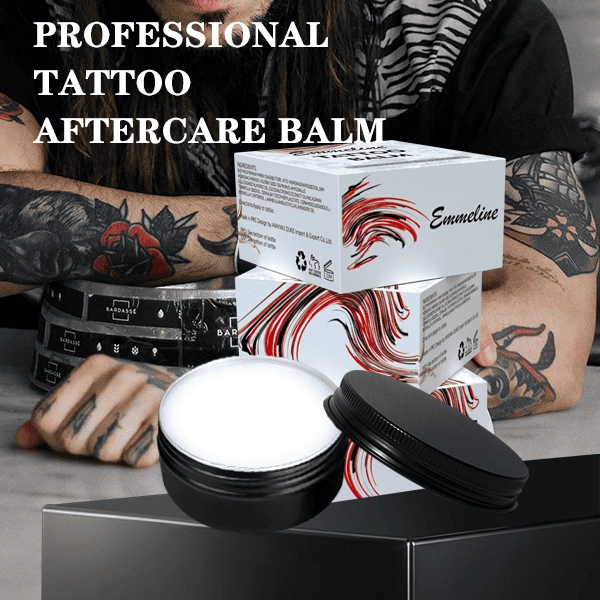
50g Body Tattoo Butter Balm
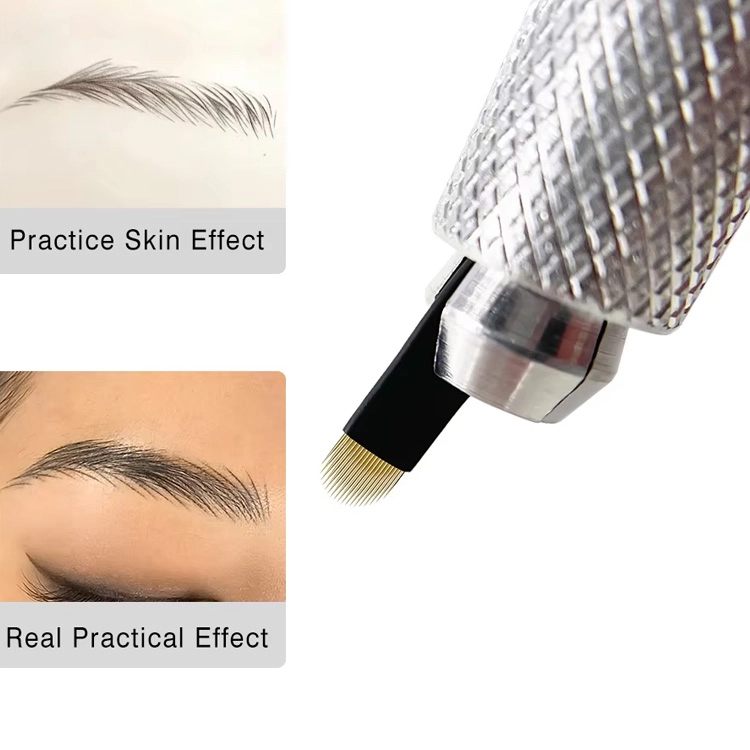
U-Curved Microblading Needle Blade
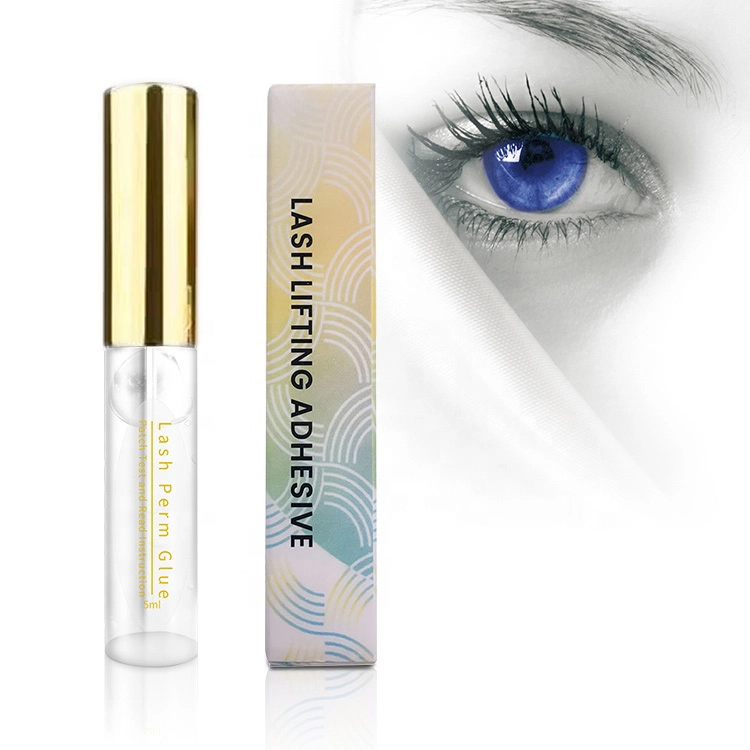
Japan Professional Lash Lift Adhesive
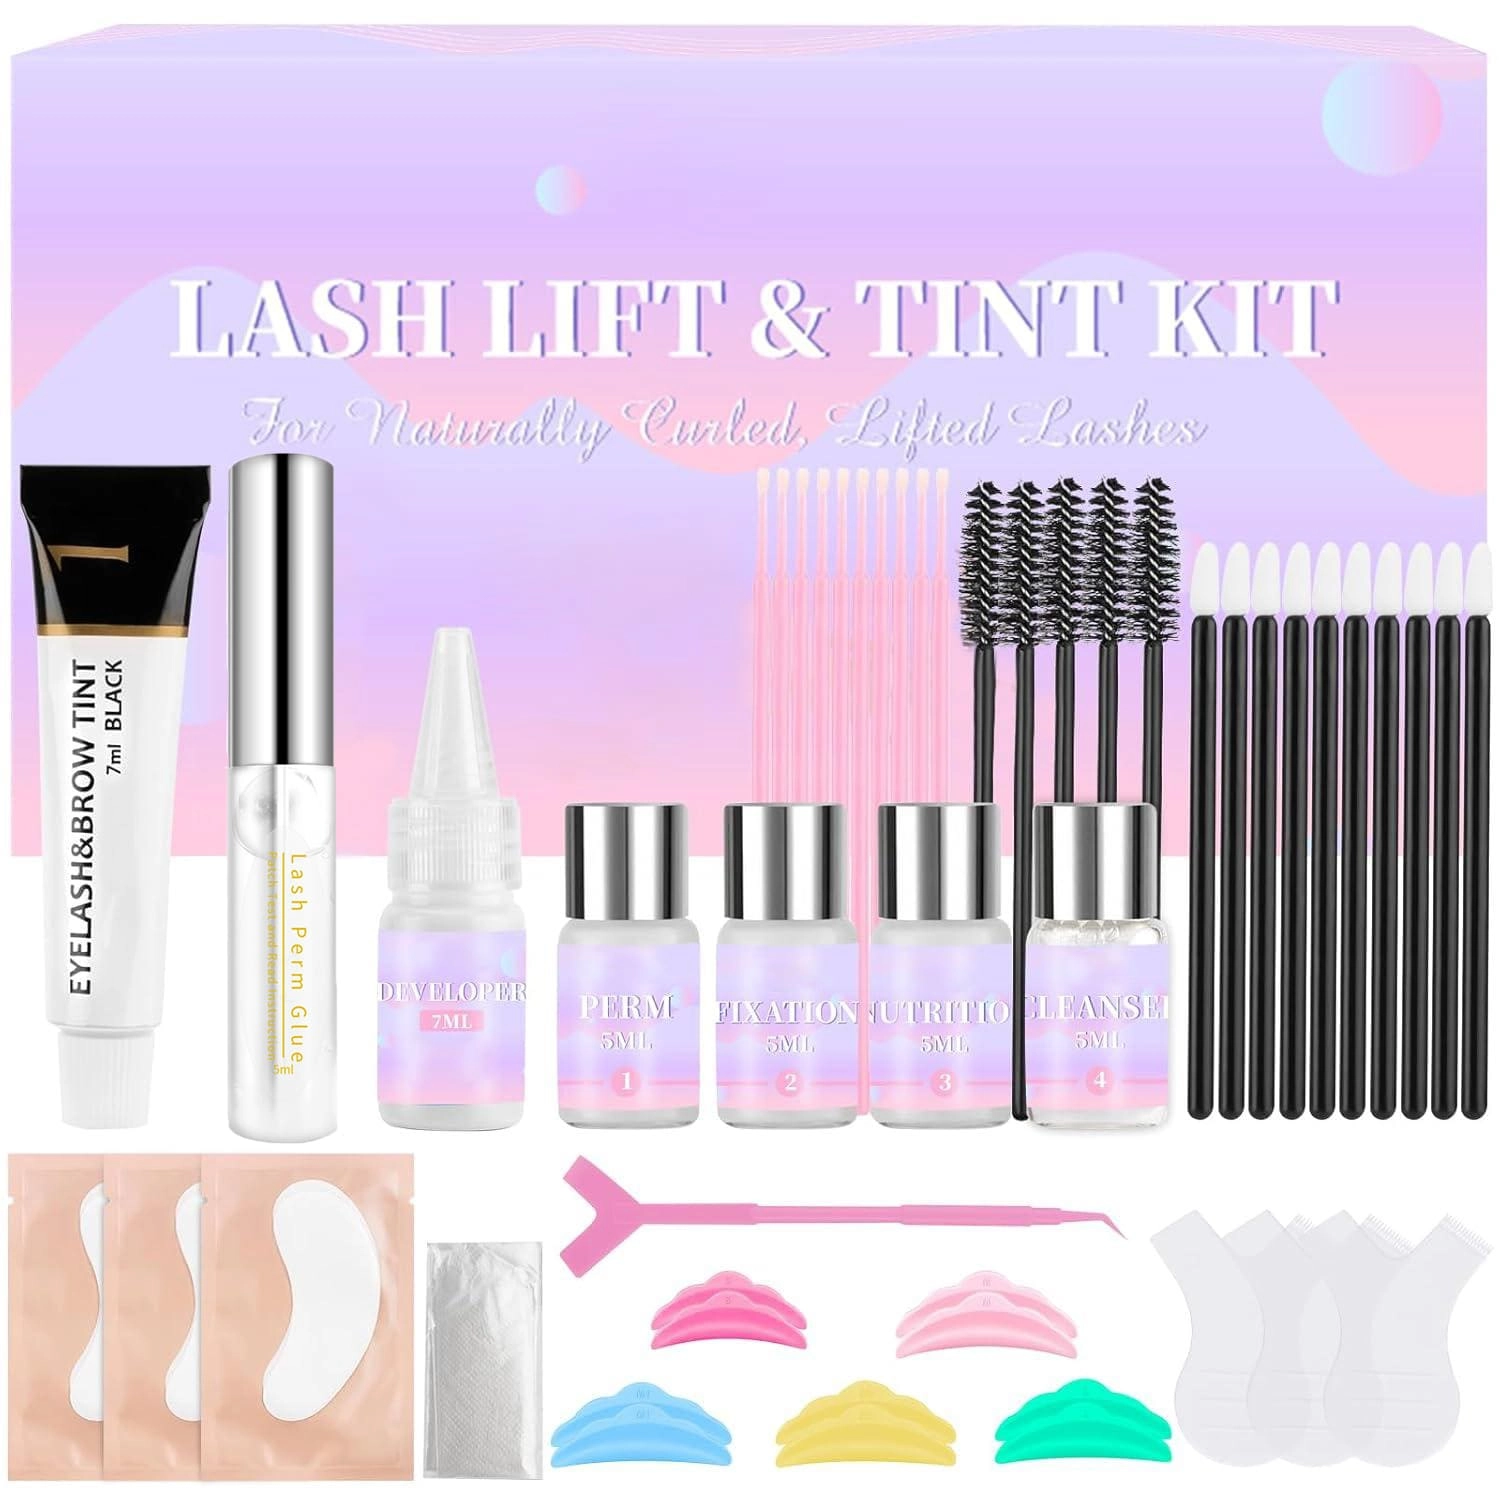
Professional Lash Lift and Tint Kit
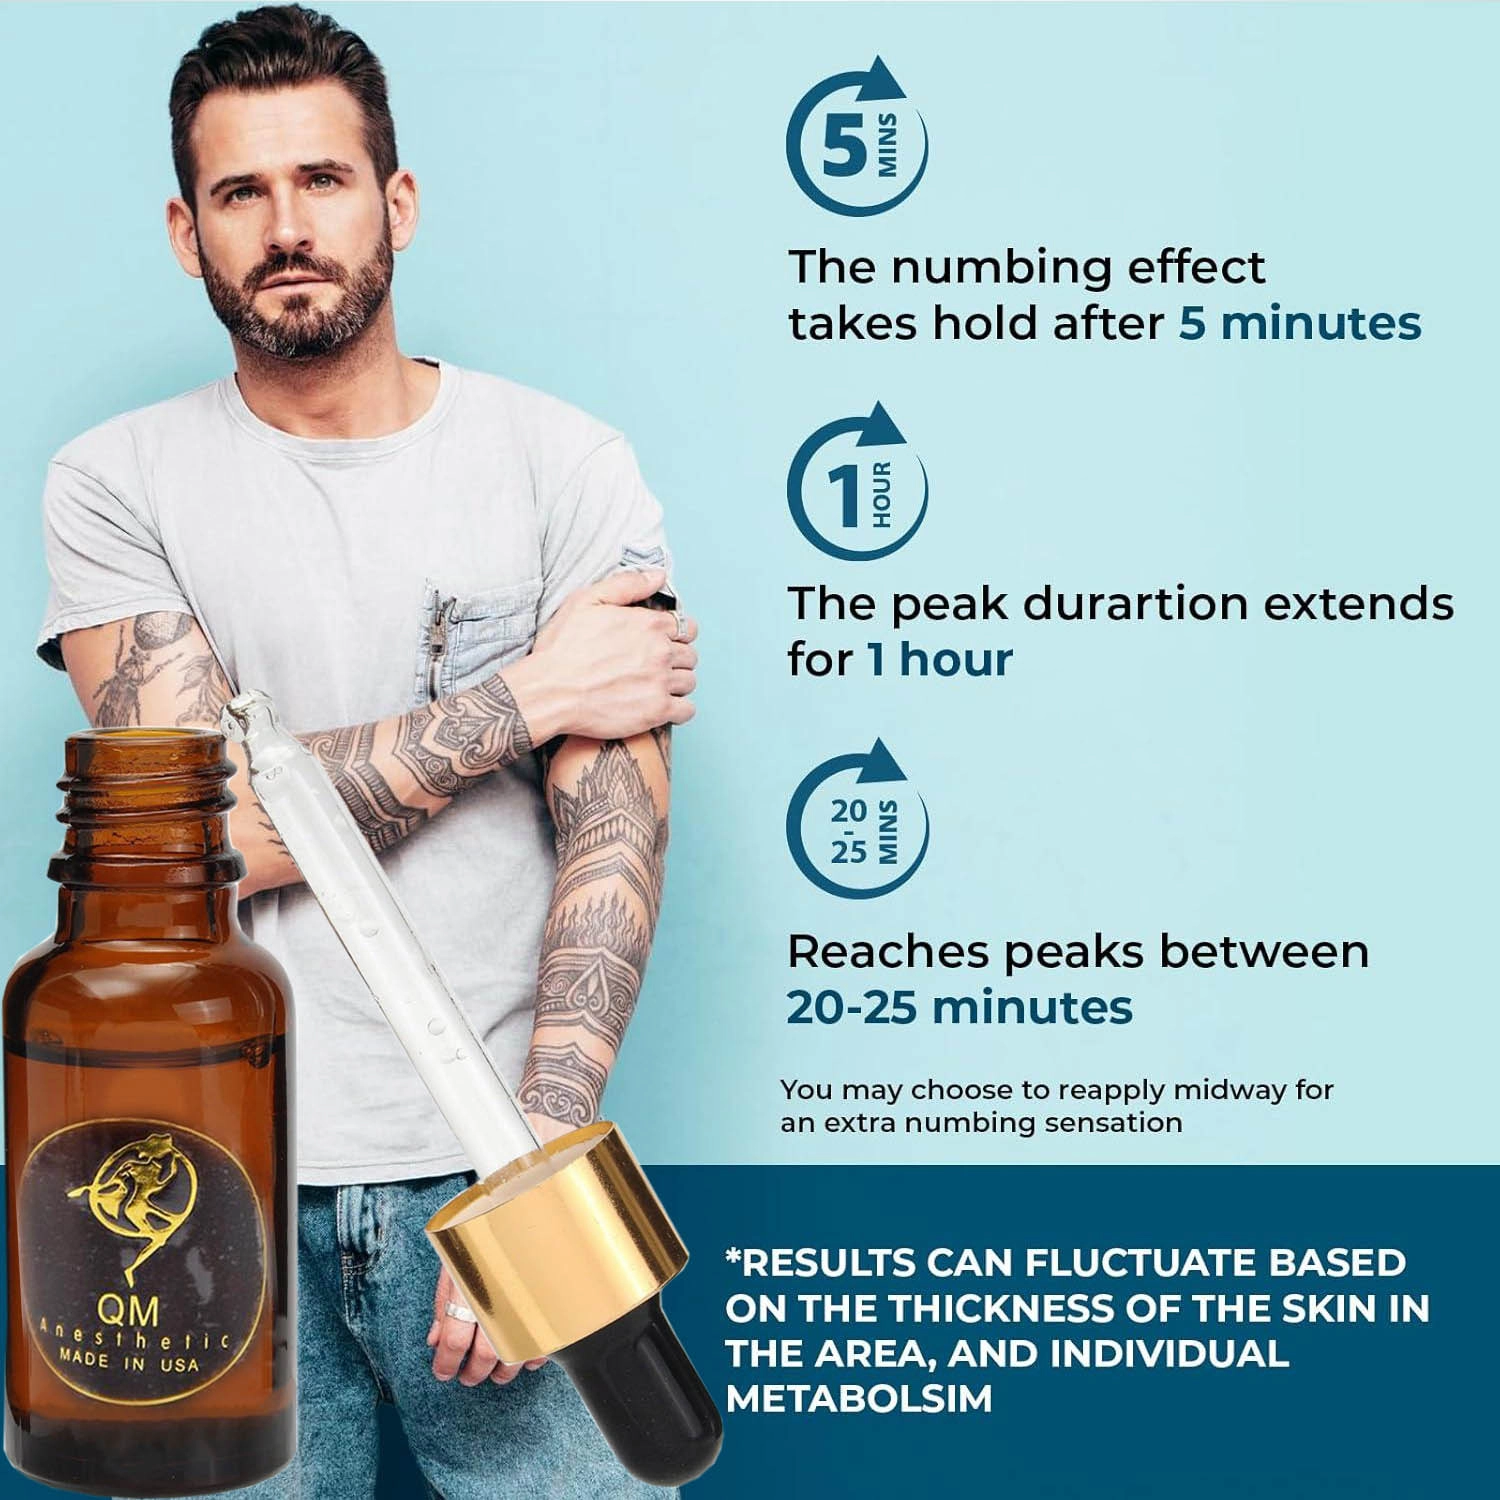
5 Minutes Secondary Numbing Essence
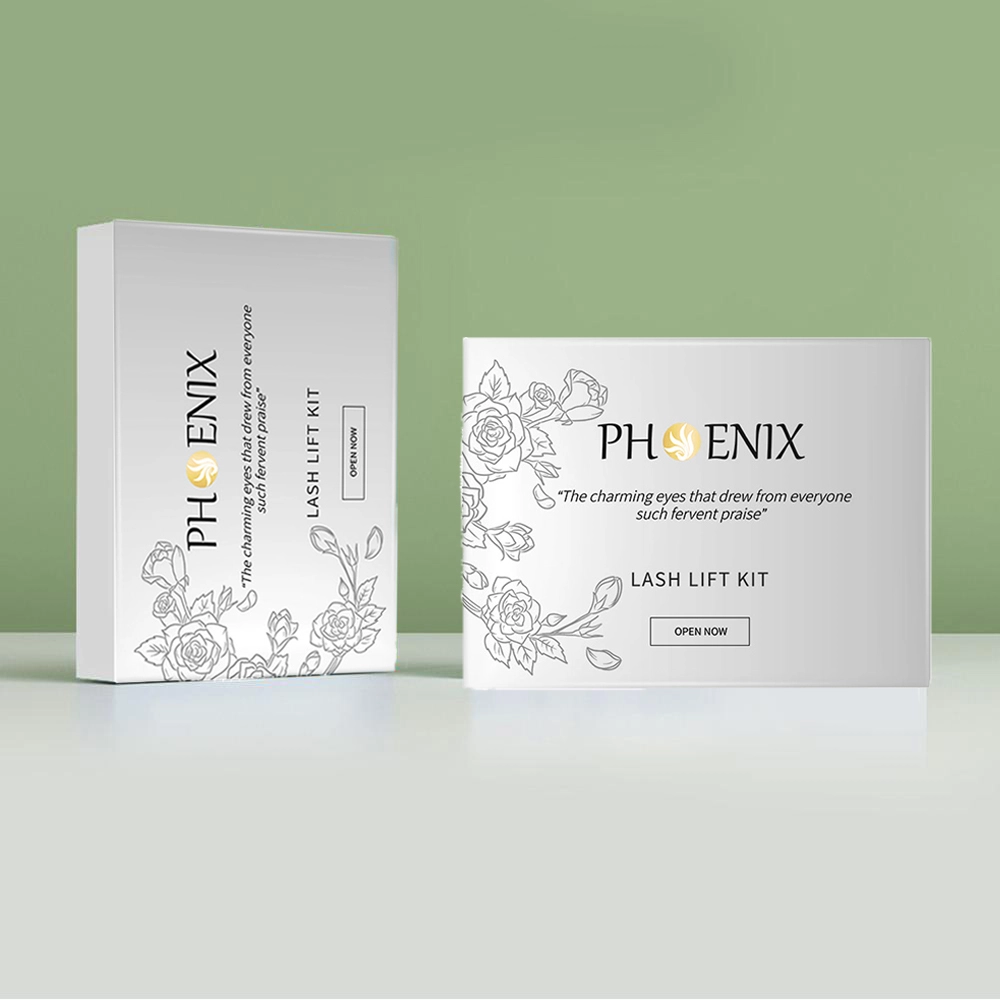
Professional Keratin Lash Lift Kit
What product do we have?

Instagram
Facebook
YouTube