


Mastering Microblading: Your Ultimate Guide to Essential Tools & Supplies
In the world of permanent makeup (PMU), artistic vision is only as good as the tools used to execute it. Microblading is a delicate balance of art and medical science, requiring not just a steady hand and an eye for symmetry, but also a deep understanding of the equipment that touches the client's skin. Whether you are a budding artist assembling your first kit or a seasoned professional looking to upgrade your arsenal, understanding the nuances of microblading tools and microblading supplies is paramount.
High-quality equipment is the foundation of safety, precision, and client satisfaction. Using sub-par needles or unstable pigments can lead to poor retention, color shifts, or worse—infection and scarring. This guide serves as your comprehensive resource for navigating the vast market of permanent makeup tools, ensuring you select the essential microblading kit components that align with industry safety standards and your professional goals.
The Core Four: Essential Microblading Tools You Can't Do Without
At the heart of every procedure lie four critical components. These are the non-negotiables that directly influence the quality of your hair strokes and the comfort of your client.
1. Microblading Pens & Hand Tools
The microblading pen, or hand tool, is an extension of the artist's arm. Unlike machine-based PMU, microblading relies on manual pressure to deposit pigment. When searching for the best microblading pens, consider the following:
- Manual vs. Disposable: Traditional hand tools are often made of autoclavable metal (aluminum or medical-grade steel) and use interchangeable blades. However, the industry is seeing a massive shift toward disposable microblading equipment. Single-use, pre-sterilized pens with attached blades offer the highest level of hygiene and eliminate the need for autoclaving.
- Ergonomics: Since procedures can take two to three hours, the weight and grip of the pen are crucial. A tool that is too heavy or slippery can lead to hand fatigue and inconsistent stroke depth. Look for pens with a non-slip grip and a balanced weight distribution.
- Blade Mechanism: For reusable handles, the locking mechanism (cross-lock vs. classic lock) must secure the needle firmly. A wobbly blade creates jagged, blurry strokes.
2. Microblading Needles & Blades
Perhaps the most technical aspect of your kit is the blade. This is not a single needle, but a row of fine needles fused together. A comprehensive microblading needles guide involves understanding configuration and diameter:
- Configurations:
- U-Blade: The needles form a U-shape. This is excellent for creating curved, flowing strokes and is often a favorite for beginners learning to turn the blade.
- Slant/Angled Blade: The needles are arranged at an angle. This is the versatile standard for creating crisp, straight lines and tail strokes.
- Round Shaders: Used for manual shading (microshading) between hair strokes to add density.
- Diameters: The thickness of the individual pins determines the fineness of the stroke. Standard diameters are 0.18mm (for crisp, thin strokes) and 0.20mm (for standard strokes). Nano blades, often 0.15mm or 0.16mm, are used for hyper-realistic, extremely fine details.
- Material: Always ensure blades are made from 316L medical-grade stainless steel to prevent dulling mid-procedure.
3. Microblading Pigments
Microblading pigments types vary significantly from traditional tattoo ink. They are formulated to fade gradually over time, allowing for adjustments as the client ages.
- Organic vs. Inorganic:
- Iron-Oxide Based (Inorganic): Known for stability and earthy tones. They are less likely to cause allergic reactions but may fade faster.
- Synthetic Organic (Carbon Based): Offer vibrant, long-lasting colors. However, they require a skilled hand as they can migrate if implanted too deeply.
- Consistency: Microblading requires a thicker, creamy consistency (often called a "paste" or "cream") compared to machine pigments, ensuring the color sticks to the blade and deposits effectively into the incision.
- Safety Standards: Only buy from reputable brands that provide Material Safety Data Sheets (MSDS) and gamma-sterilization certificates.
4. Topical Anesthetics
Client comfort is essential for a smooth procedure. If a client is in pain, they will flinch, making precision impossible.
- Primary Numbing: Applied to unbroken skin before the procedure starts (usually a lidocaine cream base).
- Secondary Numbing: Applied to broken skin during the procedure. These often contain epinephrine (vascular constrictor) to reduce bleeding and swelling, which also helps with pigment retention.
Beyond the Blade: Essential Auxiliary Microblading Supplies
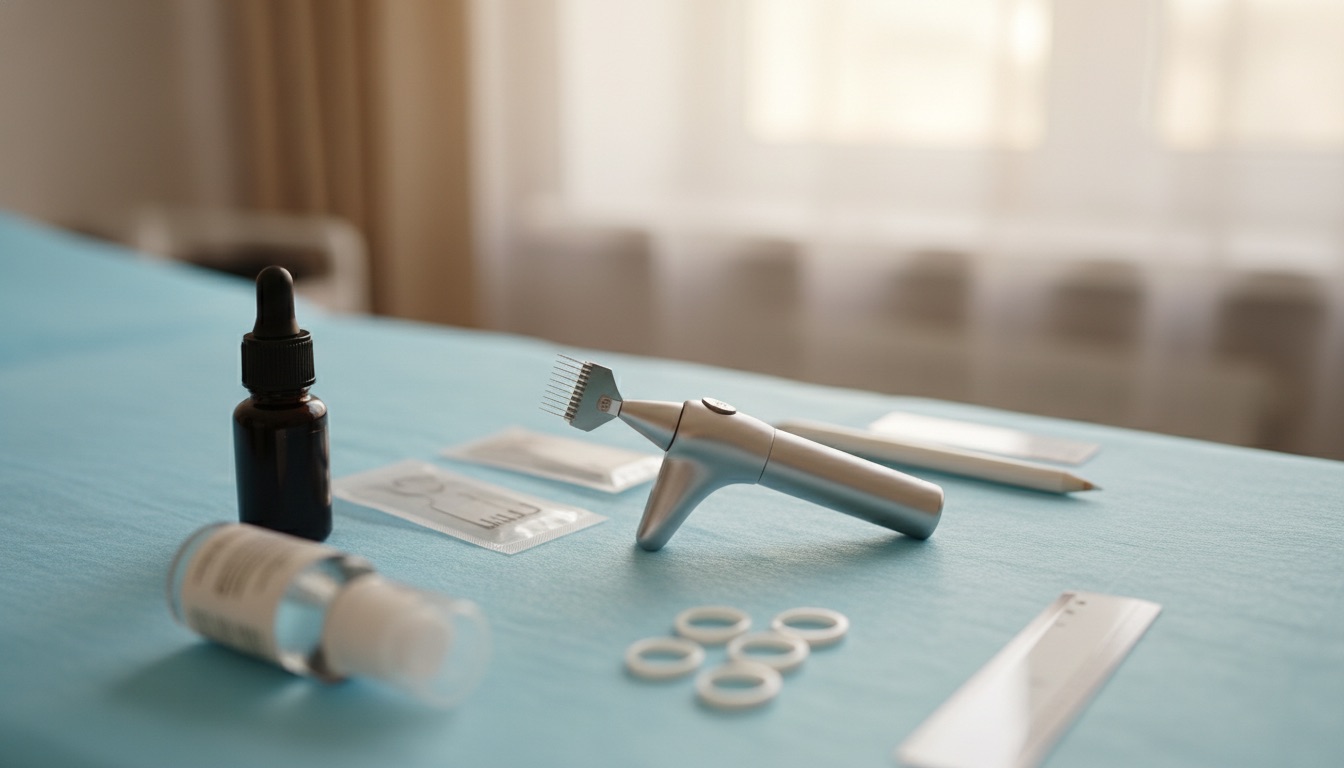
While the pen and pigment get the glory, the auxiliary supplies ensure the architecture of the brow is perfect and the environment is sterile.
Mapping & Design Tools
You cannot microblade a perfect brow without a blueprint. Professional microblading essentials for mapping include:
- Golden Ratio Calipers: These tools help locate the client’s natural brow starting points, arch, and tail based on their unique bone structure.
- Pre-Inked Mapping String: A game-changer for symmetry, this creates straight, crisp geometric lines across the forehead to ensure leveled brows.
- Wax Pencils (China Markers): Used for drawing the final shape. They are water-resistant and stay put during the numbing process.
Practice Materials
Skill refinement never stops.
- Latex Skin: The most common practice surface. It simulates the resistance of human skin.
- Silicone Mats: Often provide a more realistic "drag" for the blade.
- Head Forms: Allow artists to practice hand positioning and pivoting around a 3D curved surface.
Hygiene & Safety Essentials
This is the non-negotiable layer of protection for both you and the client. Cross-contamination is a serious risk in invasive procedures.
- PPE: Nitrile gloves (avoid latex due to common allergies), face masks, and hair bonnets.
- Barrier Film: To cover lamps, trays, and bottles.
- Sharps Containers: For the safe disposal of used blades.
- Surface Disinfectants: Hospital-grade disinfectants like CaviCide for cleaning the workstation between clients.
Pigment Accessories
To manage your ink workflow:
- Pigment Rings vs. Cups: Rings worn on the finger allow for quicker access to pigment, reducing travel time for the hand. Cups are placed on the tray and are more stable.
- Pigment Mixers: Small battery-operated devices that thoroughly mix pigment to ensure consistent color and prevent separation.
Choosing Your Microblading Tools: Key Considerations for Professionals
How to choose microblading tools is a question of balancing cost, safety, and performance. Here are the pillars of decision-making:
Quality & Material Standards
Cheap tools are expensive in the long run. A blade that hooks or dulls halfway through a brow will trauma the skin, leading to poor healing and a dissatisfied client. Always look for ISO-certified manufacturers. The steel quality affects how smooth the incision is; lower quality steel has microscopic burrs that tear the skin rather than slicing it.
Disposable vs. Reusable Tools
There is a strong industry trend favoring disposable microblading equipment.
- Pros of Disposables: Guaranteed sterility for every client, zero cleanup time, no need for an autoclave, and clients feel safer seeing a sealed package opened in front of them.
- Pros of Reusables: The heavy-weight metal handles often feel better in the hand and reduce waste. However, they require strict sterilization protocols (ultrasonic cleaning and autoclaving) which adds overhead and liability.
Ergonomics & Precision
Microblading is repetitive. Repetitive Strain Injury (RSI) is common among artists. Test different pen diameters. Some artists prefer a chunky grip to reduce hand cramping, while others prefer a slim pencil-style grip for dexterity.
Regulatory Compliance
Before purchasing, check your local health department regulations. Some regions ban the use of certain pigments or require specific types of sterilization equipment. Ensure your microblading supplies meet the FDA (or local equivalent) guidelines for cosmetic tattooing.
Building Your Professional Microblading Kit: Recommendations
Starter Kits for Beginners
If you are just starting, avoid buying items piecemeal. Look for a comprehensive kit from a training academy. A solid beginner kit should contain:
- 10x Disposable tools (U-blade and Slant mix)
- 3x Core pigment colors (Light, Medium, Dark Brown)
- 1x Mapping caliper and pencil
- 5x Sheets of latex practice skin
- Pigment rings and barrier film
Upgrading for Advanced Artists
As you evolve, your kit should too:
- Nano Blades: For ultra-realistic strokes.
- Shading Tools: Manual shading needles to offer "Combo Brows."
- Lighting: High-quality ring lights or glamorous moon lights to reduce eye strain and improve photos.
Where to Buy
Stick to specialized PMU suppliers. Avoid generic marketplaces like AliExpress or Amazon for blades and pigments, as counterfeit products are rampant. Trusted suppliers often provide batch numbers and sterilization dates, which are crucial for insurance and health inspections.
Conclusion
Mastering microblading is a journey that begins with the right equipment. Your choice of microblading tools directly impacts the safety of your procedure and the beauty of the healed result. By investing in high-quality microblading supplies, prioritizing hygiene with disposable microblading equipment, and understanding the technical specifications of your needles and pigments, you set the stage for a successful career. Remember, in the world of permanent makeup, you are selling confidence—and that confidence starts with the tools in your hand.
Frequently Asked Questions
What are the absolute essential microblading tools for a beginner?
For beginners, essential microblading tools include a reliable hand tool or disposable pen, various needle configurations (e.g., U-blade, slant), quality pigments, practice skin, mapping tools (calipers, pencils), and essential hygiene supplies like gloves and disinfectant. It is often best to purchase a curated kit from a reputable training academy to ensure compatibility.
Are disposable microblading tools better than reusable ones?
Disposable microblading tools offer superior hygiene by eliminating the risk of cross-contamination and the need for complex sterilization. While reusable holders offer sustainability and weight, disposable options are often preferred for their convenience and guaranteed sterility. Most health departments highly recommend or mandate single-use tools for invasive procedures.
What kind of pigments should I use for microblading?
You should use high-quality, professional-grade microblading pigments specifically formulated for permanent makeup. Look for pigments that are stable, non-toxic, and have a good safety record, often from reputable brands that specify their ingredients and retention properties. Avoid tattoo inks, which can migrate and discolor over time on the face.
How do I choose the right microblading needles?
Choosing the right microblading needles depends on the client's skin type, desired hair stroke thickness, and the specific technique. Common types include U-blades for curved strokes, slant blades for straight lines, and round shaders for shading. Consider needle diameter for fine vs. bold strokes; 0.18mm is a standard for crisp strokes, while 0.15mm is used for nano details.
Do I need practice skin for microblading, and what type is best?
Yes, practice skin is crucial for developing and refining microblading skills without working on a live client. Latex practice skins are widely used, offering a texture similar to human skin. Some come with pre-drawn brow shapes, while others are blank for freehand practice. Synthetic skins allow you to experiment with depth and pressure safely.
What's the difference between a microblading pen and a microblading machine?
A microblading pen (or hand tool) is manual, used to create individual hair-like strokes by hand. A microblading machine uses a motorized needle to implant pigment into the skin, offering more versatility for various permanent makeup techniques like powder brows (Ombre brows), although some machines also mimic hair strokes (Nano brows).
How often should microblading tools be replaced?
Disposable microblading tools, including needles and pens, must be replaced and safely discarded after each client to prevent cross-contamination. Reusable tools, like universal holders, should be thoroughly cleaned and sterilized (e.g., autoclaved) after every use, and replaced if they show signs of wear or damage.
What safety precautions should be taken when using microblading tools?
Safety precautions include using only individually packed, sterilized disposable needles, wearing gloves and other PPE, maintaining a clean and disinfected workspace, proper disposal of sharps, and ensuring all pigments and anesthetics are professional-grade and approved for cosmetic use. Always follow local health and safety regulations regarding bloodborne pathogens
- The Core Four: Essential Microblading Tools You Can't Do Without
- 1. Microblading Pens & Hand Tools
- 2. Microblading Needles & Blades
- 3. Microblading Pigments
- 4. Topical Anesthetics
- Beyond the Blade: Essential Auxiliary Microblading Supplies
- Mapping & Design Tools
- Practice Materials
- Hygiene & Safety Essentials
- Pigment Accessories
- Choosing Your Microblading Tools: Key Considerations for Professionals
- Quality & Material Standards
- Disposable vs. Reusable Tools
- Ergonomics & Precision
- Regulatory Compliance
- Building Your Professional Microblading Kit: Recommendations
- Starter Kits for Beginners
- Upgrading for Advanced Artists
- Where to Buy
- Conclusion
- Frequently Asked Questions
- What are the absolute essential microblading tools for a beginner?
- Are disposable microblading tools better than reusable ones?
- What kind of pigments should I use for microblading?
- How do I choose the right microblading needles?
- Do I need practice skin for microblading, and what type is best?
- What's the difference between a microblading pen and a microblading machine?
- How often should microblading tools be replaced?
- What safety precautions should be taken when using microblading tools?
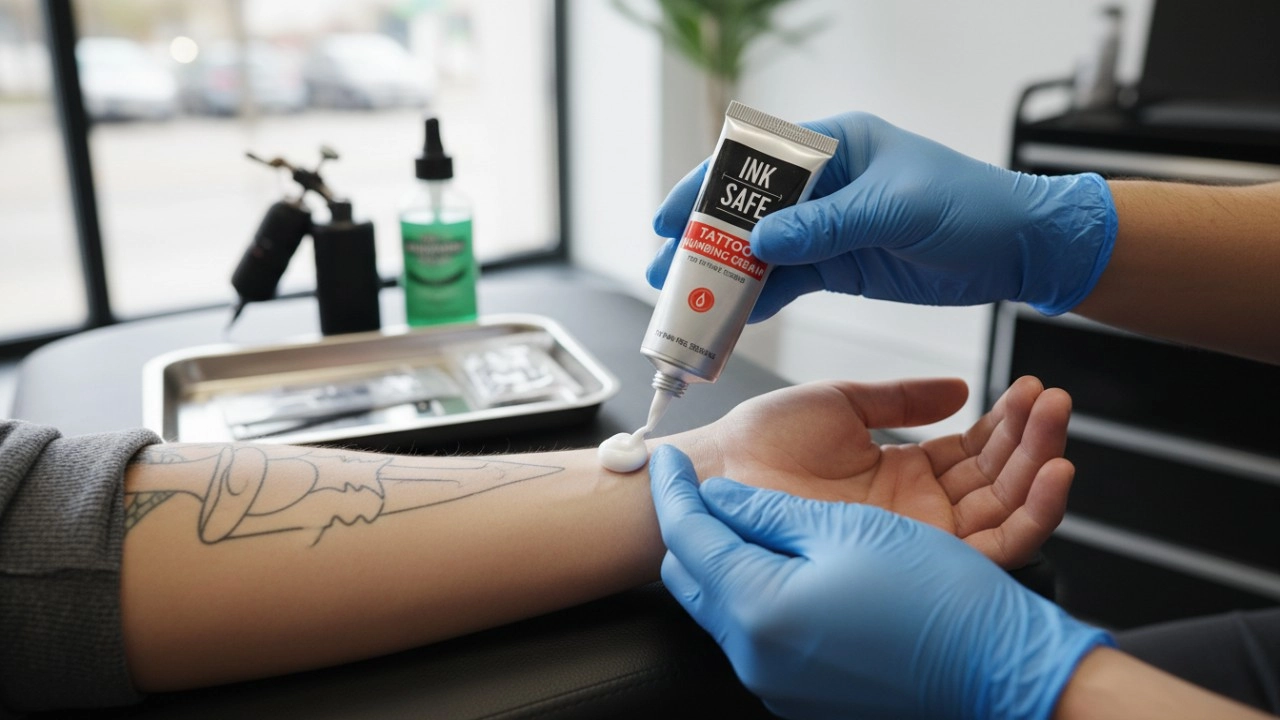
10 Best Numbing Creams for Tattoos in 2026: Ranked by Pain Relief and Safety
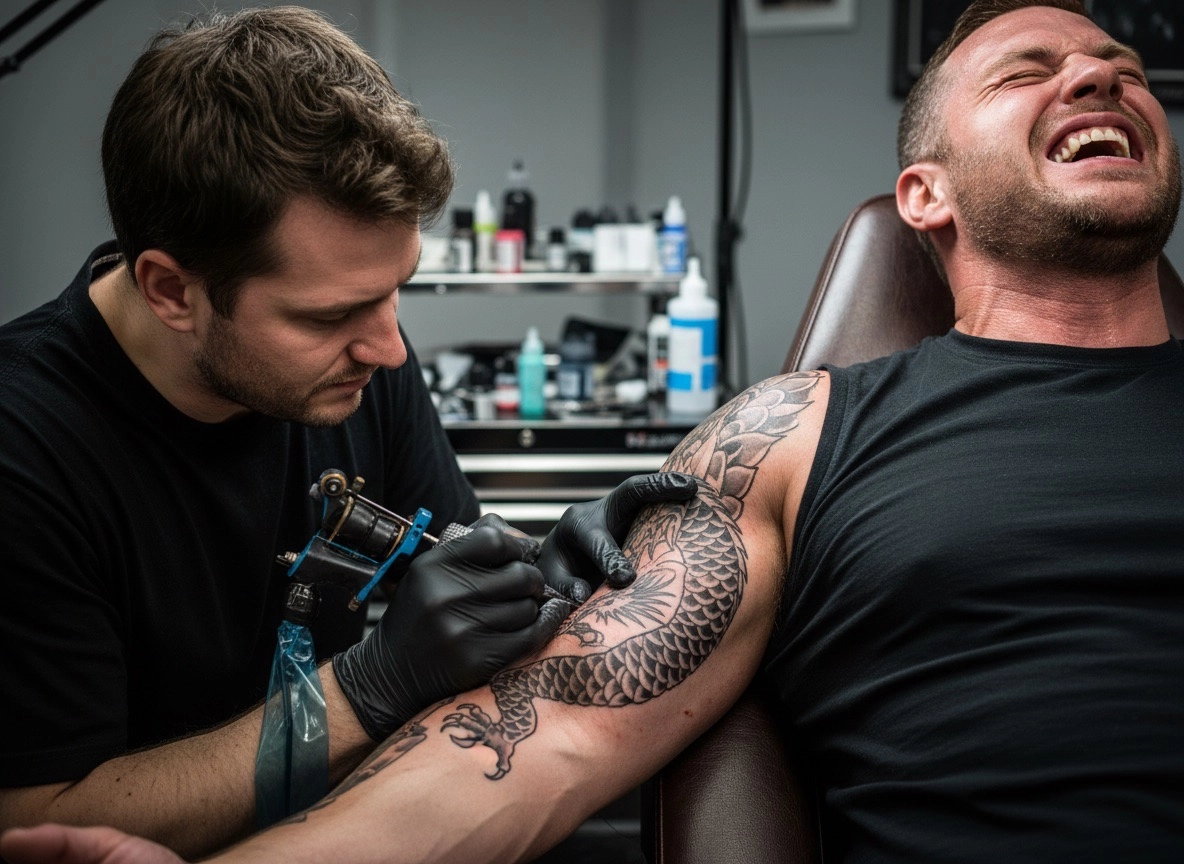
Does Numbing Cream Work for Tattoos? The Ultimate Guide to a Pain-Free Session

The Ultimate Guide to Tattoo Aftercare Cream: Healing & Vibrancy for 2026 and Beyond

Lash Lift and Tint 2026: Your Ultimate Guide to Defined, Curled Lashes
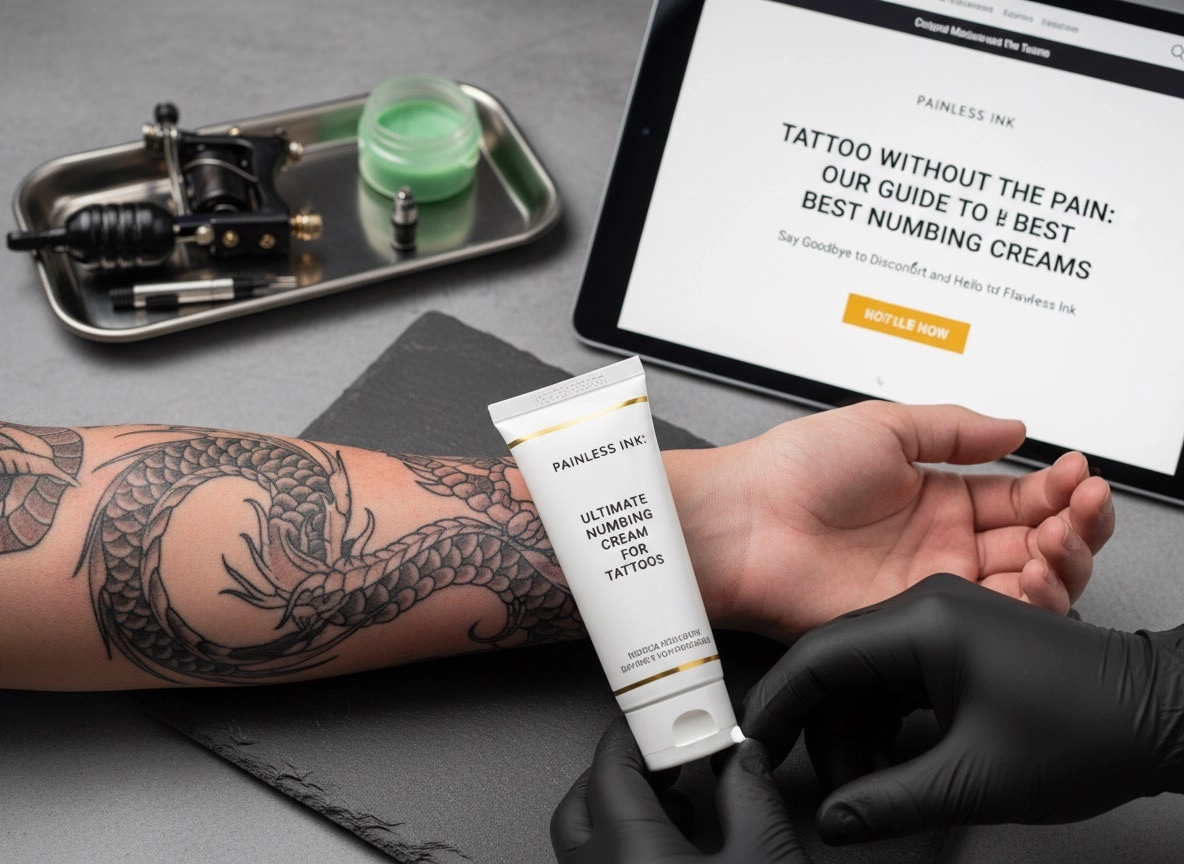
Best Numbing Cream for Tattoos 2026: The Ultimate Guide for Pain-Free Ink
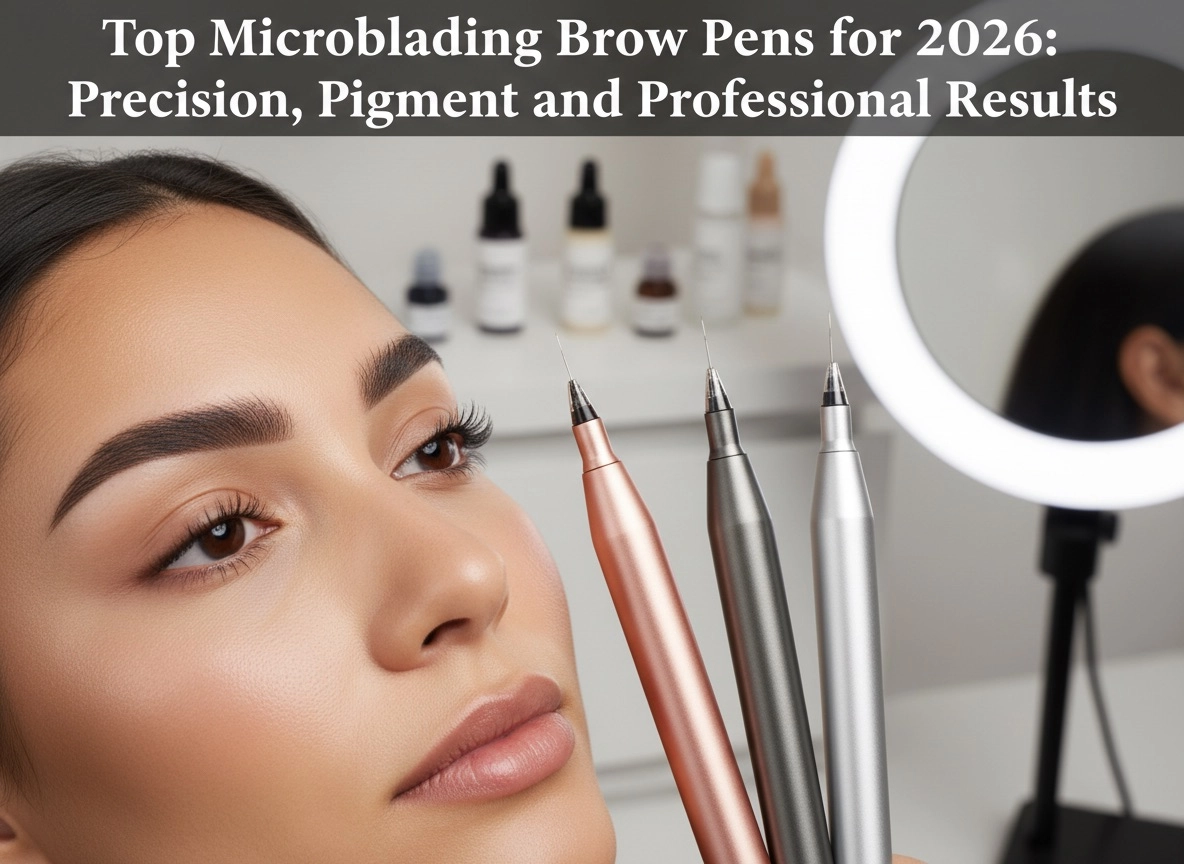
Top Microblading Brow Pens for 2026: Precision, Pigment, and Professional Results
Lash lift kit
Does the perming lotion contain the ingredient “Cysteamine” ?
Yes, some formulas contain the ingredient “Cysteamine”, then some contain the ingredient “Thioglycolic acid”. The active ingredient of the perming lotion is a reducing agent, which acts to break the disulfide bonds in the eyelash. Commonly used reducing agents are Thioglycolic acid and Cysteamine. Compare to Cysteamine, Thioglycolic acid has a strong reducing power.
After sales support
How do I change or cancel my order?
Any cancellation made after an order has been placed, will be subject to a cancellation fee regardless of the time the order has been placed (even if it is just a second later) as the merchant processor/credit card charges us a fee for cancellations.
Please note that any orders that have already been packed, produced or shipped cannot be cancelled.
Can I change my shipping address after placing an order?
Please be advised that your shipping address cannot be revised after the order has been processed or shipped. In the event of an incorrect address provided during the order process, we need to submit an address change application to the courier company, which will be charged a corresponding address change fee and takes 1-3 working days. We will apply to the shipping company for address change after you pay us the address change fee. The address change fee is subject to the shipping company's bill.
Handmade pen
Do disposable eyebrow pen microblading meet hygiene and safety standards?
Our microblading pen for eyebrows are sterilized in individual blister packs using EO gas sterilization. Each 3d microblading pen is packed in a protective cover for safe storage and handling, and is also marked with a batch number, manufacturer date, and expiration date to ensure safety and hygiene, so you can use it with confidence.
Micro Blade
Do I need to use more than one blade during the procedure?
Our blades are made of 304 stainless steel, sharp and tough, usually one blade can support the completion of the entire microblading process. However, due to the different conditions of the customer's eyebrows, the operator may choose different sizes of blades for treatment accordingly, at this time, it may be necessary to use more than one blade in the microblading professional eyebrow microblading process.
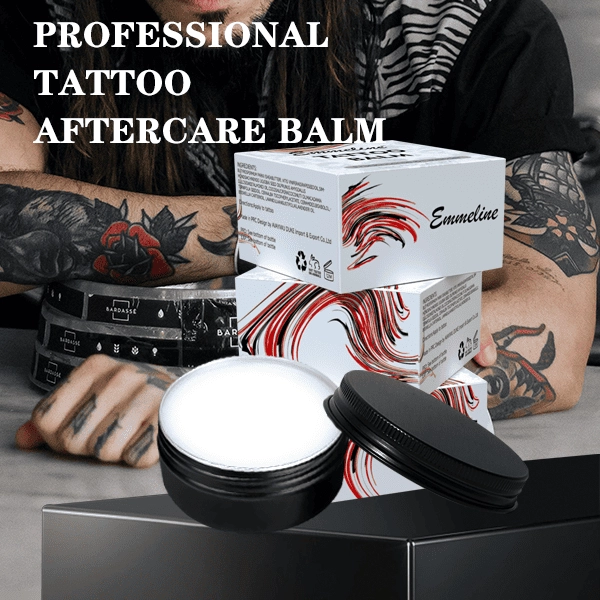
50g Body Tattoo Butter Balm
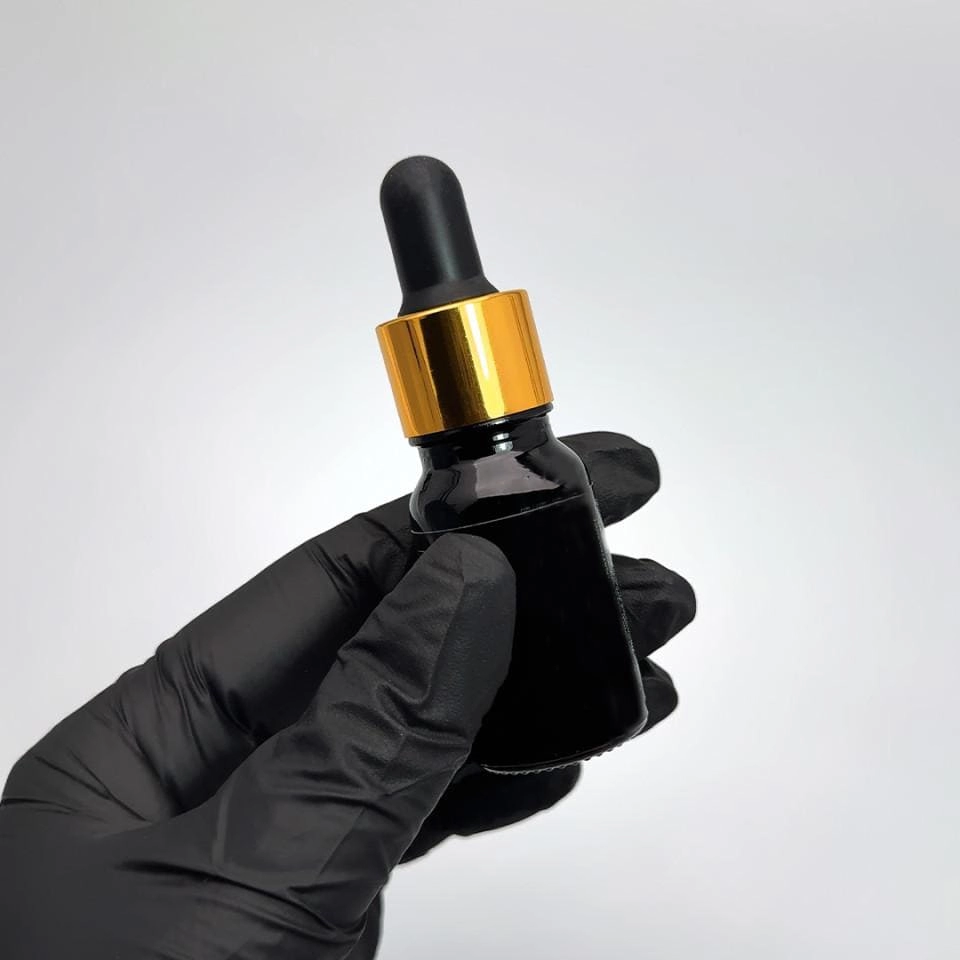
15 Mins Super Numb Tattoo Numbing Essence
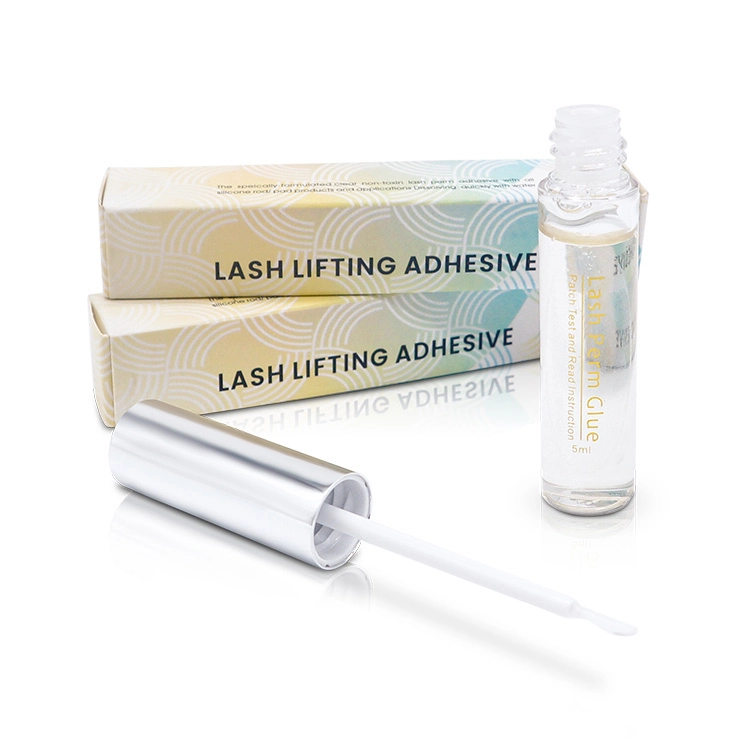
Japan Strong Sticky Lash Lift Glue
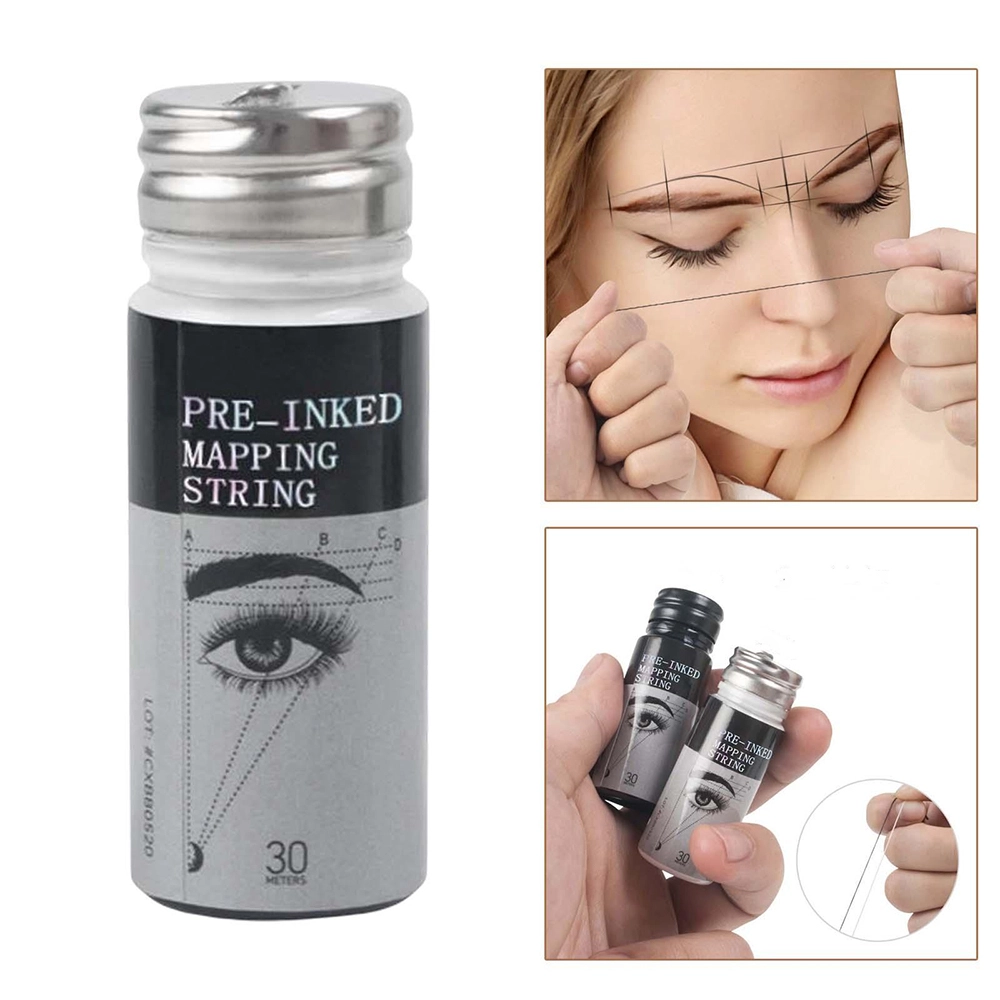
Classic Pre Inked Eyebrow Mapping String 30m
Achieve flawless brows with QM Makeup's Professional Pre Inked Eyebrow Mapping String 30m. This High Quality pre-inked mapping string ensures precise, clean lines for perfect brow mapping every time. An essential tool for professionals seeking efficiency and accuracy in their work.
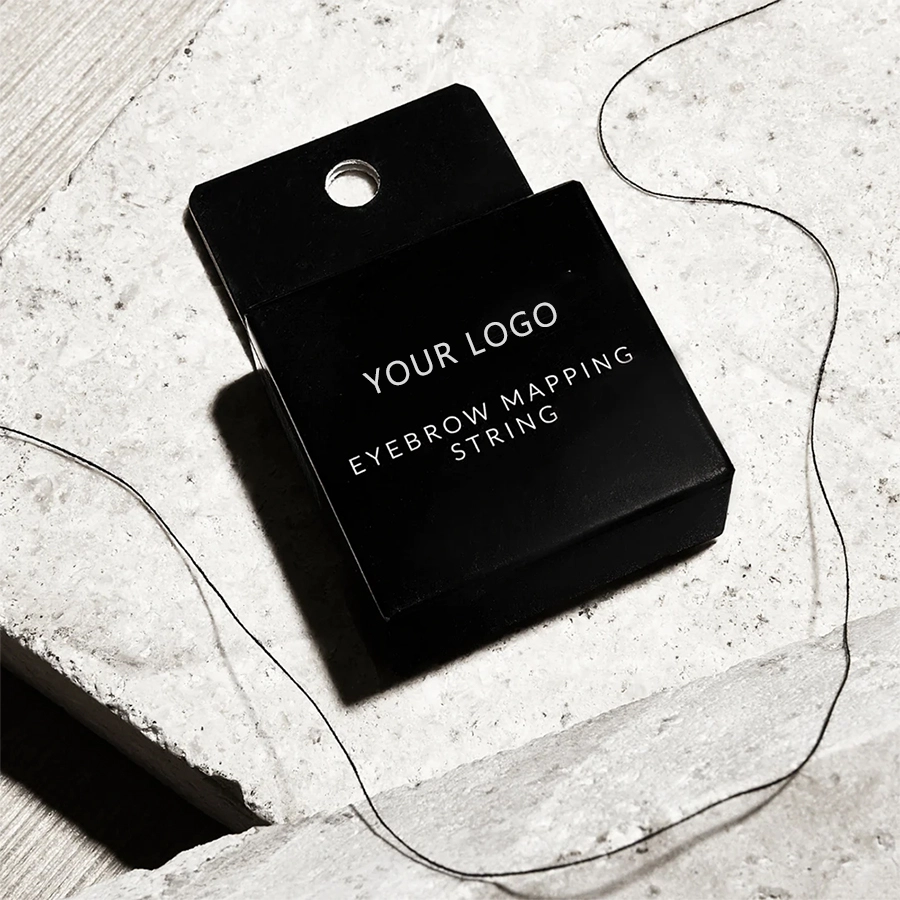
Microblading Pre-inked Mapping String Line 10m
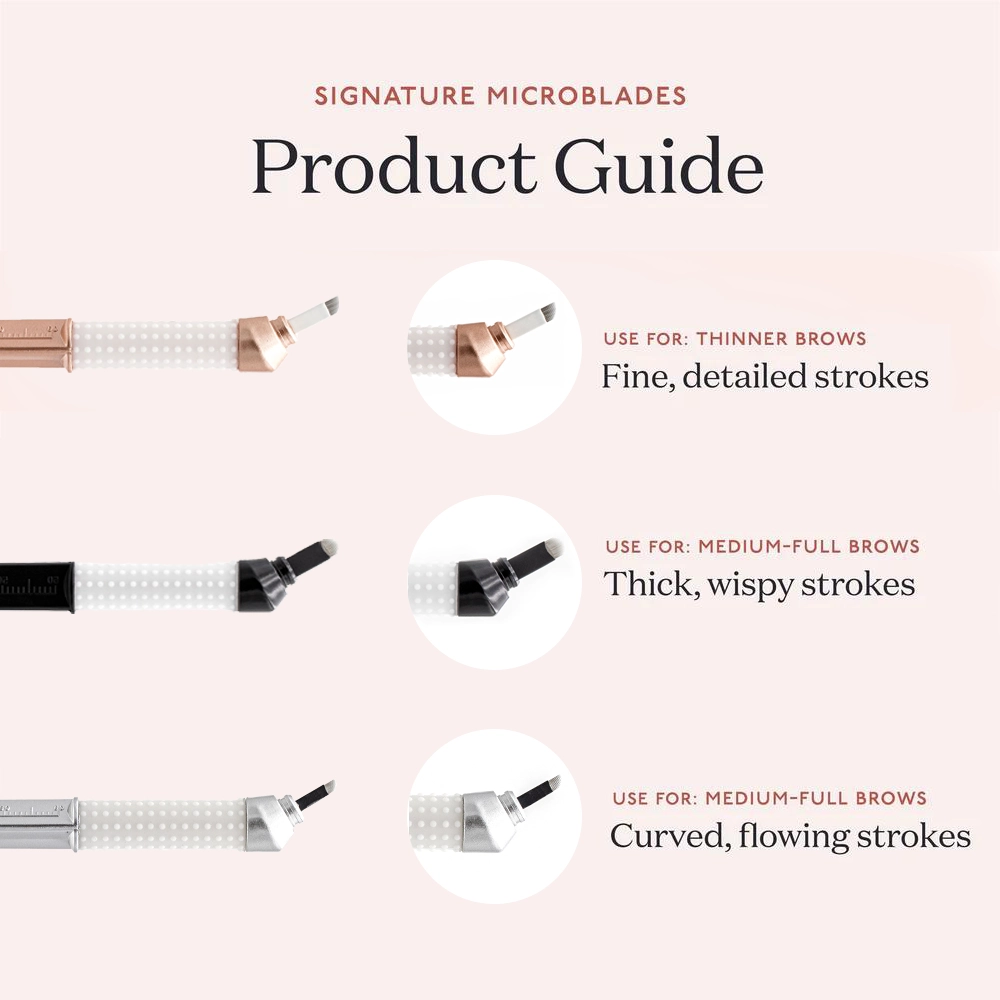
Angled Disposable Microblading Pen for Eyebrows
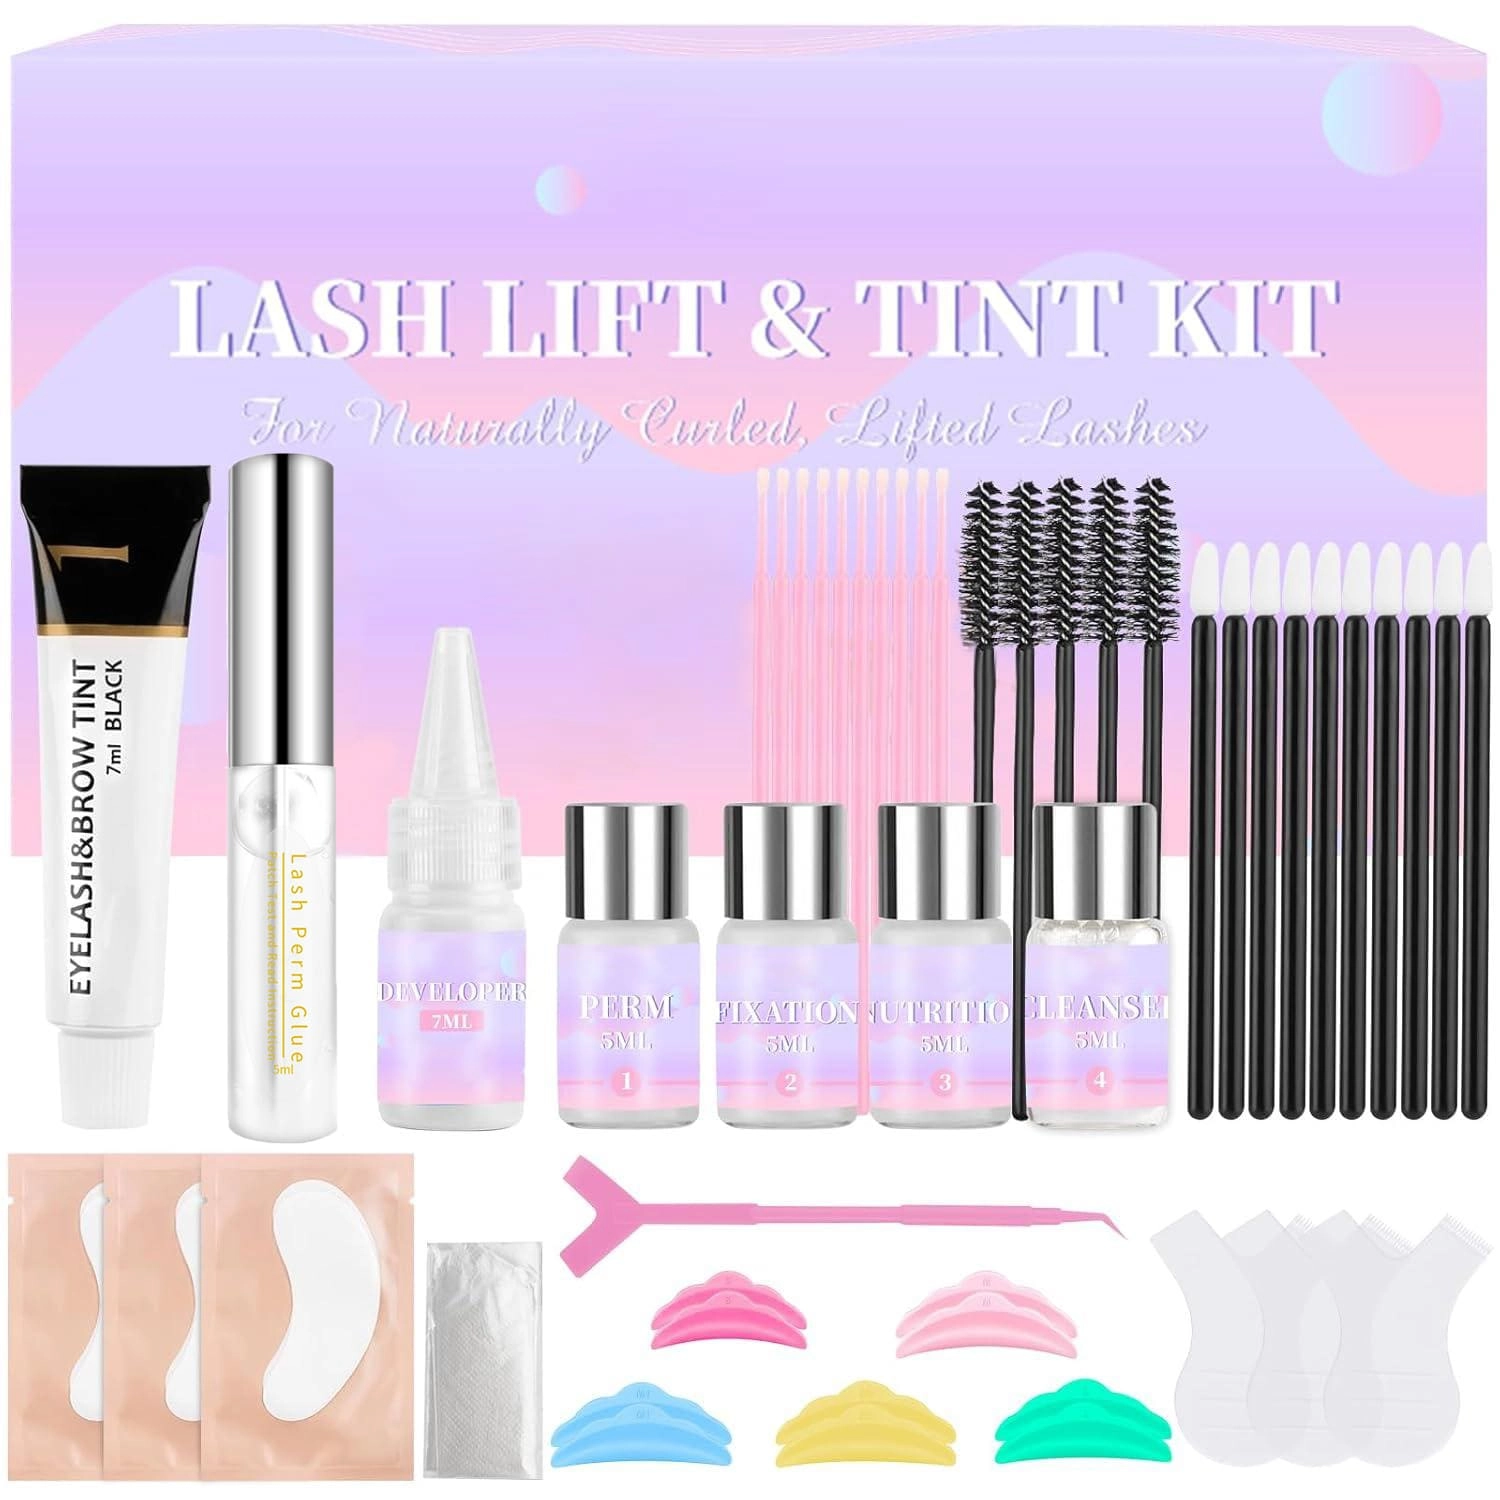
Professional Lash Lift and Tint Kit
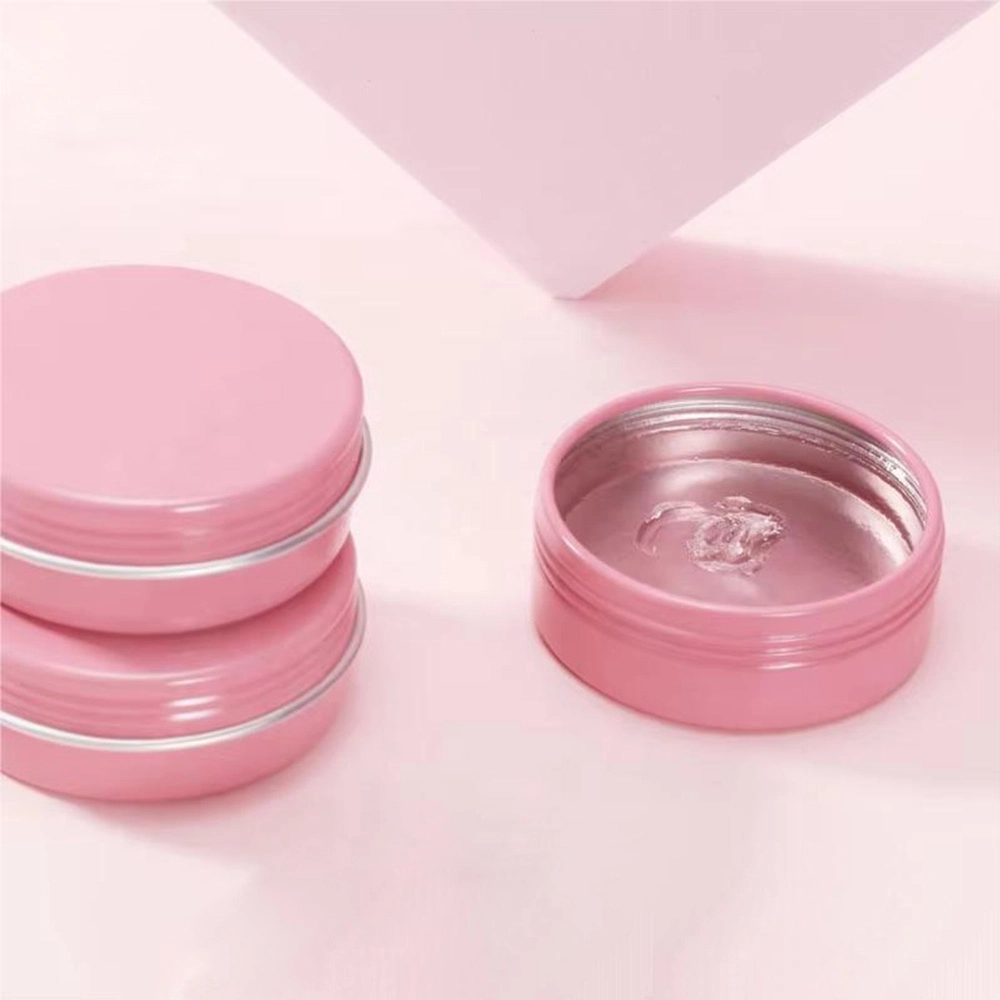
Eyelash Perming Glue Balm
What product do we have?

Instagram
Facebook
YouTube