


how to use tattoo practice skin | QM Makeup Guide
How to Use Tattoo Practice Skin in Semi-Permanent Makeup
The use of tattoo practice skin is a fundamental aspect of training and skill development in the semi-permanent makeup industry. Whether you're a beginner or an experienced professional looking to refine your techniques, understanding how to effectively use tattoo practice skin can significantly enhance your proficiency. This article aims to address common pain points such as choosing the right practice skin, preparing it correctly, and maximizing its use to improve your semi-permanent makeup skills.
Choosing the Right Tattoo Practice Skin
- Material Quality: Opt for high-quality silicone practice skin, which closely mimics the texture and elasticity of human skin. According to a study by the International Journal of Cosmetic Science, silicone practice skins provide a realistic training experience (Source: International Journal of Cosmetic Science, 2019).
- Thickness: Choose practice skin with varying thicknesses to simulate different areas of the face, such as the eyebrows, lips, and eyelids.
- Size: Select practice skins in various sizes to practice different techniques and designs.
Preparing Tattoo Practice Skin
- Cleaning: Always start with a clean surface. Use a mild soap and water to clean the practice skin before use.
- Stretching: Stretch the practice skin to mimic the tension of real skin. This helps in achieving more accurate results.
- Marking: Use a non-permanent marker to sketch your design before starting. This allows for adjustments and ensures precision.
Techniques for Using Tattoo Practice Skin
- Needle Depth: Practice controlling the depth of your needle. Start with shallow depths and gradually increase as you gain confidence.
- Hand Movement: Focus on smooth, steady hand movements. Practice different strokes to master various semi-permanent makeup techniques.
- Ink Application: Experiment with different ink consistencies and application methods to find what works best for your style.
Maximizing the Use of Tattoo Practice Skin
- Reusability: After use, clean the practice skin thoroughly to extend its lifespan. According to a survey by the American Academy of Micropigmentation, reusable practice skins can save professionals up to 30% on training costs (Source: American Academy of Micropigmentation, 2021).
- Feedback: Use the practice skin to get feedback from peers or mentors. This can help identify areas for improvement.
- Variety: Practice different procedures on the same piece of skin to maximize its use and enhance your versatility.
Common Mistakes to Avoid
- Overuse: Avoid overusing the same area of the practice skin, as it can become too thin and less effective.
- Improper Cleaning: Failing to clean the practice skin properly can lead to ink buildup and affect your practice sessions.
- Ignoring Realism: Don't forget to simulate real skin conditions, such as moisture and tension, to make your practice as realistic as possible.
By following these guidelines, professionals in the semi-permanent makeup industry can effectively use tattoo practice skin to hone their skills and achieve better results. Remember, practice makes perfect, and using the right tools and techniques can make all the difference in your professional development.
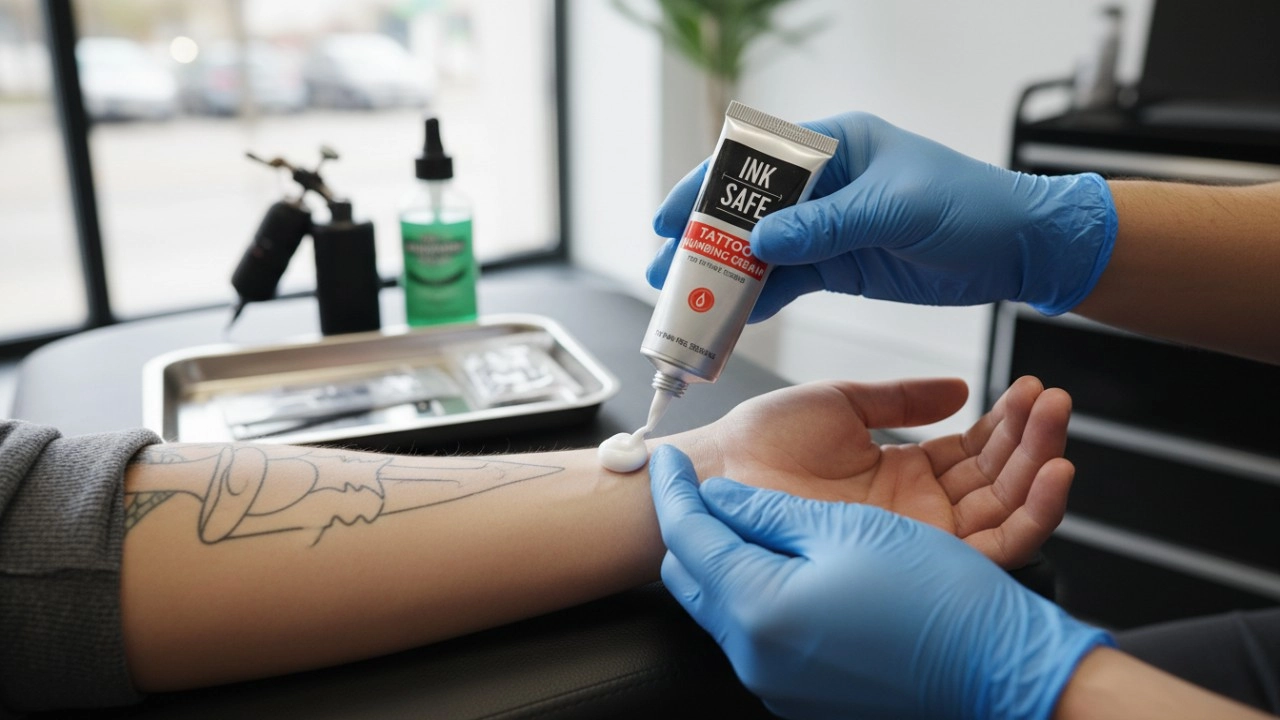
10 Best Numbing Creams for Tattoos in 2026: Ranked by Pain Relief and Safety
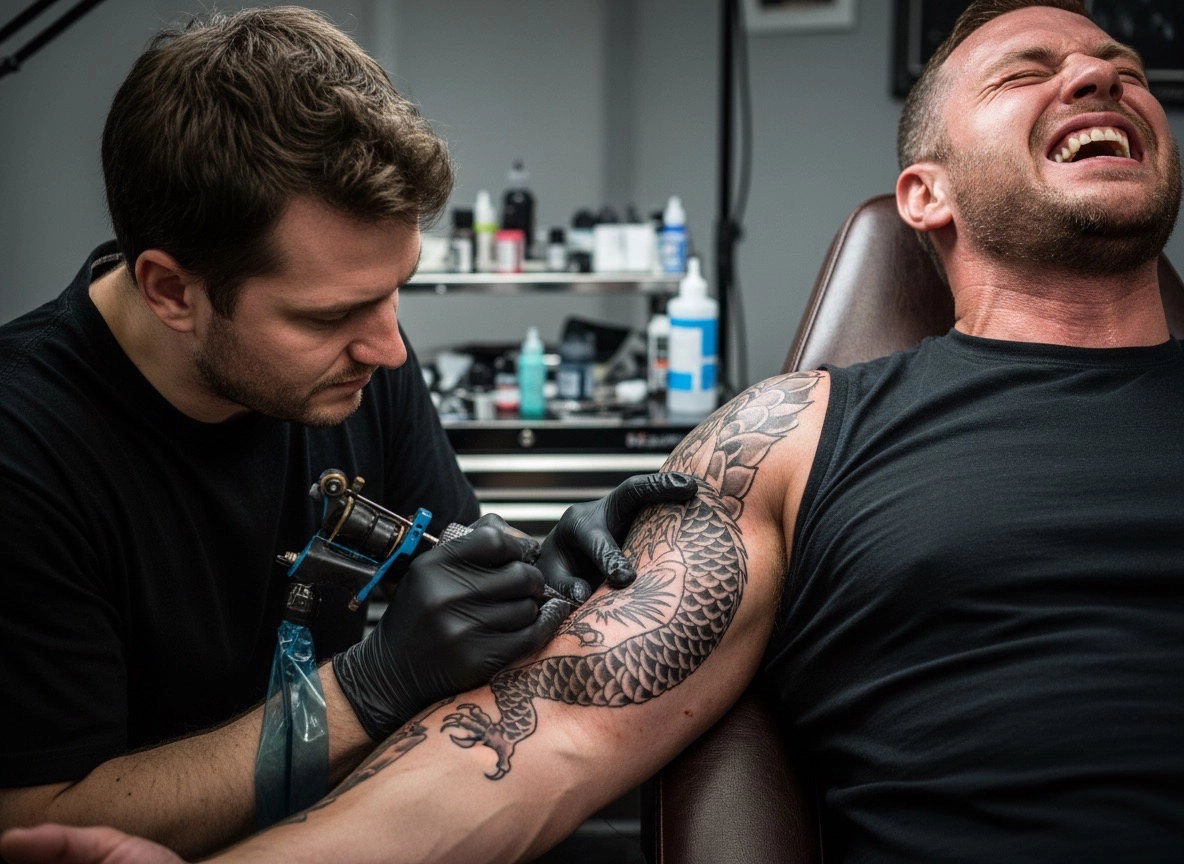
Does Numbing Cream Work for Tattoos? The Ultimate Guide to a Pain-Free Session
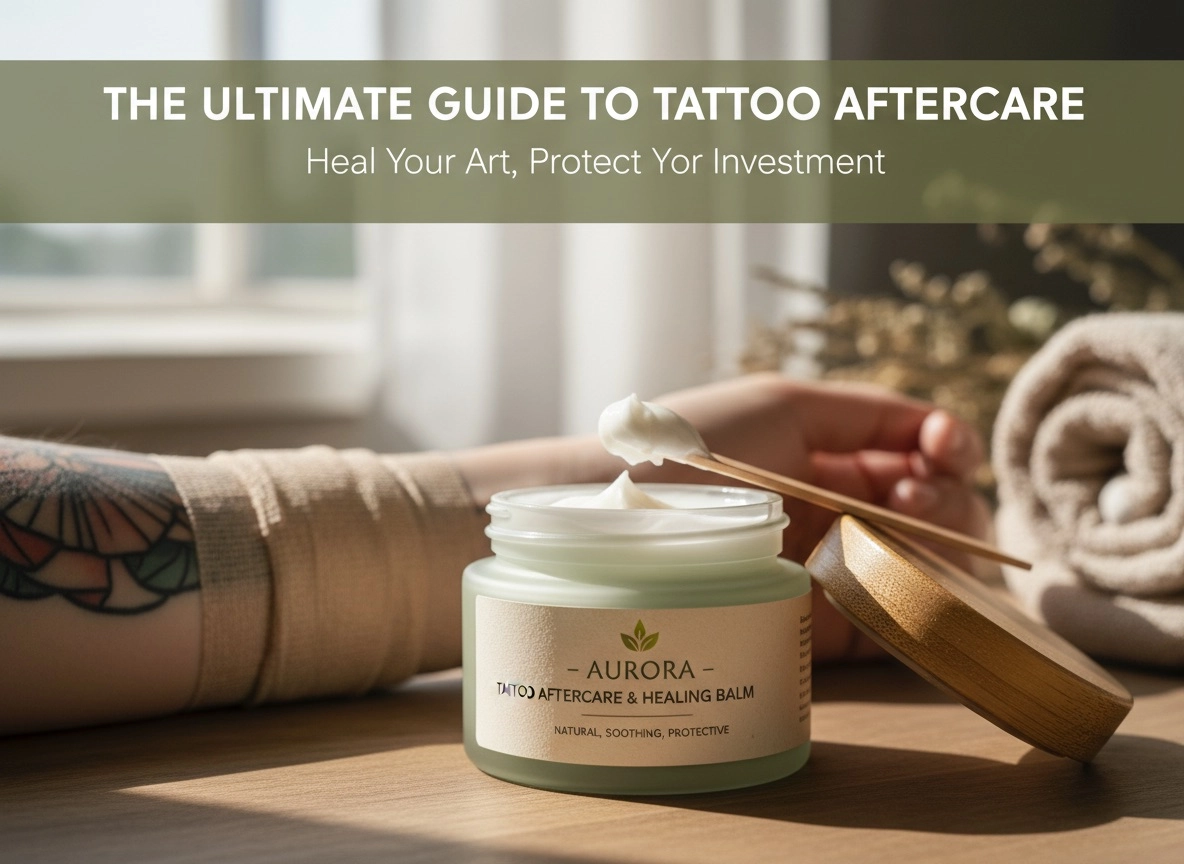
The Ultimate Guide to Tattoo Aftercare Cream: Healing & Vibrancy for 2026 and Beyond
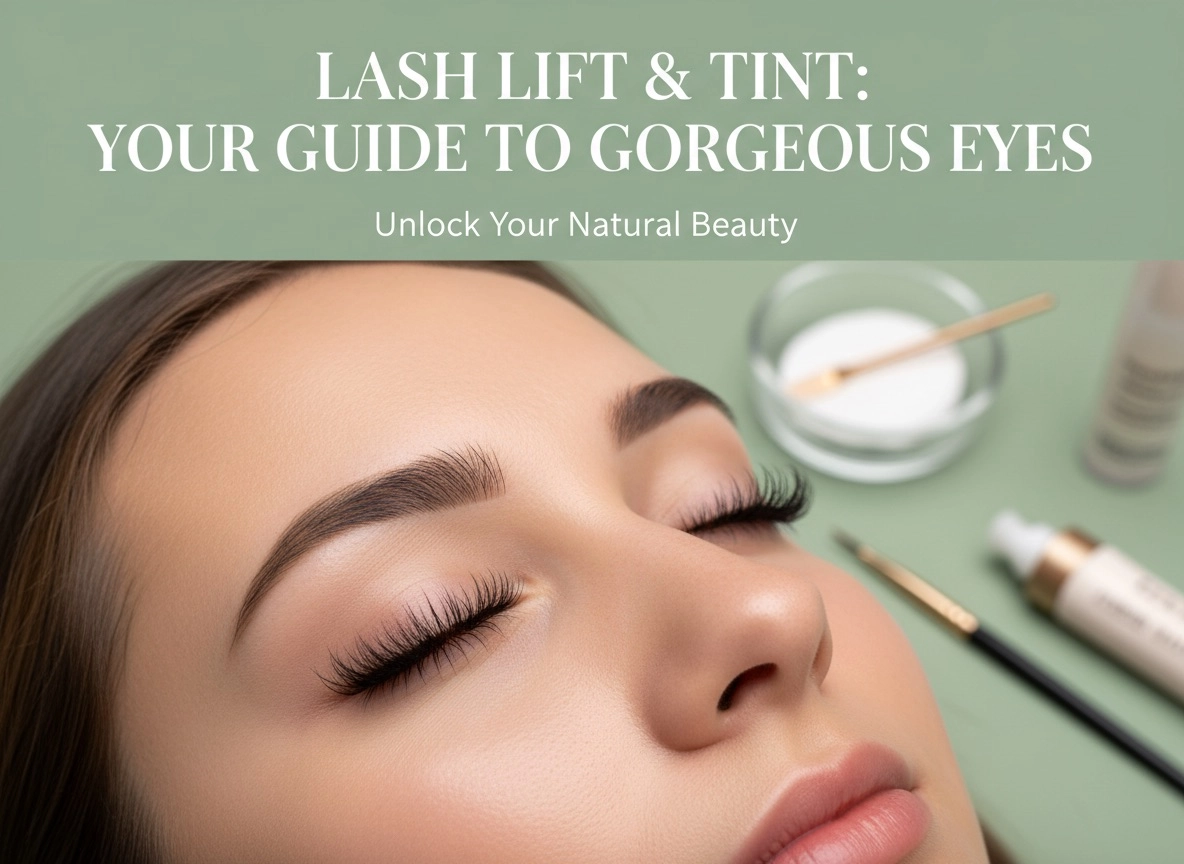
Lash Lift and Tint 2026: Your Ultimate Guide to Defined, Curled Lashes
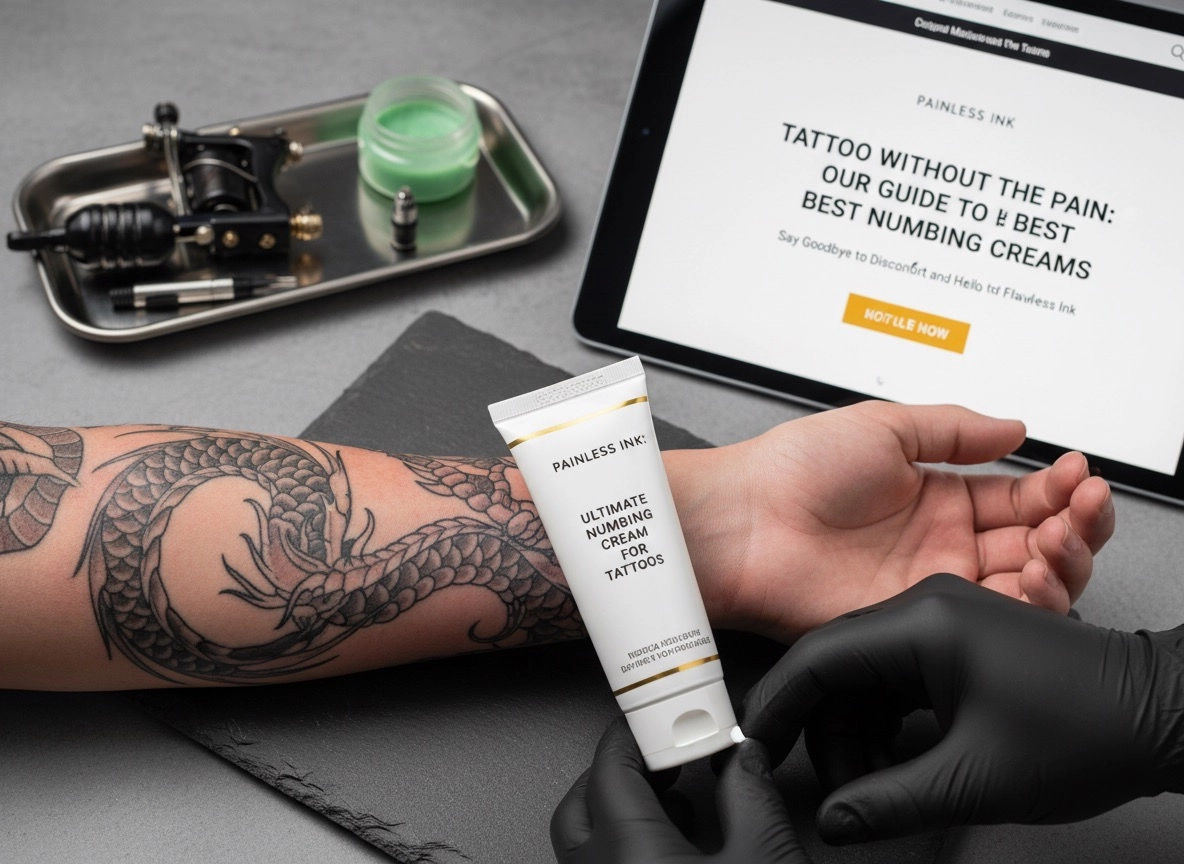
Best Numbing Cream for Tattoos 2026: The Ultimate Guide for Pain-Free Ink
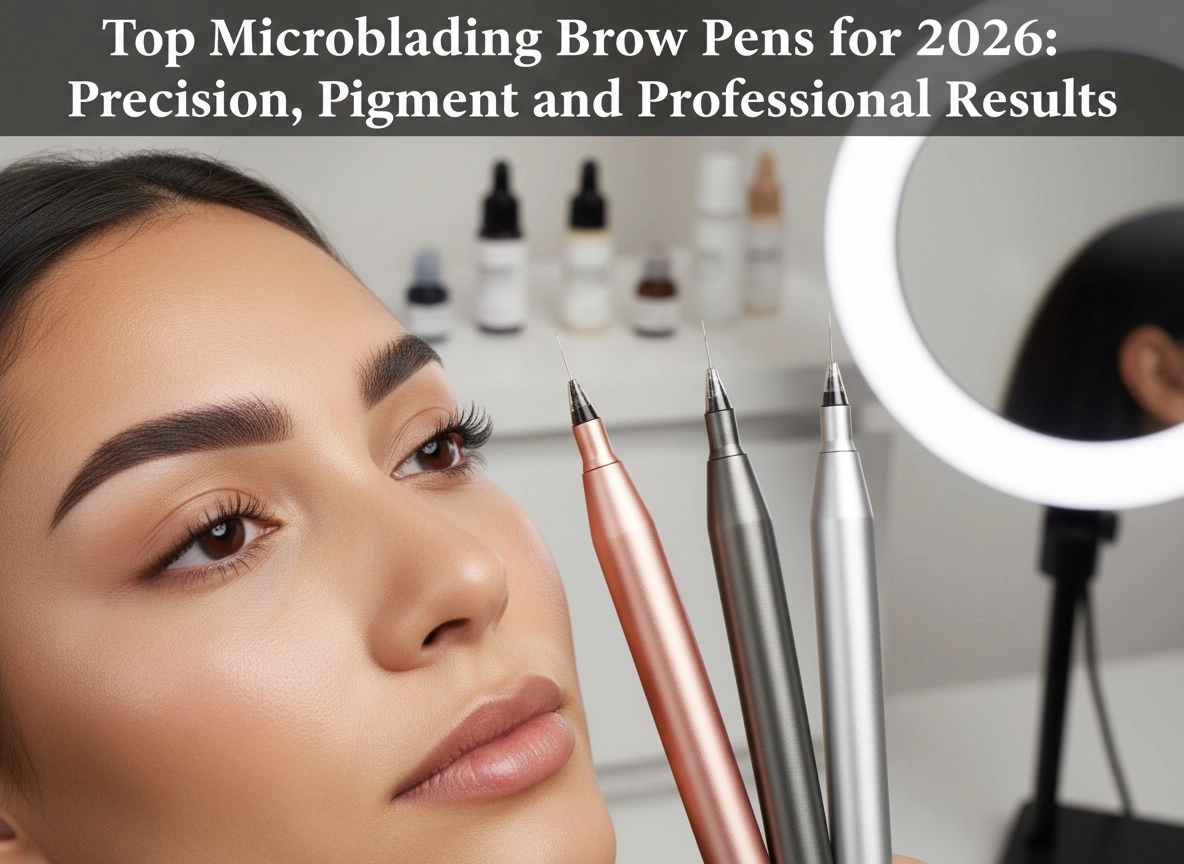
Top Microblading Brow Pens for 2026: Precision, Pigment, and Professional Results
Nano cream
What is the difference between Super Numb Tattoo Cream and Nano Numb Cream For Tattoo?
Both super numb cream and nano numb cream can be used for tattoos, piercings or other beauty treatments. But they are suitable for different people. Super numb cream has a stronger effect. If you need a very strong super numb tattoo cream, we recommend you to use Super Numb Tattoo Cream. Nano Numb Cream is developed for people with sensitive skin. The formula is more gentle, anti-sensitive and anti-redness. If you need a comfortably numb tattoo cream specifically for sensitive skin, we recommend you to use nano numb cream.
Eyelash Perming Glue Balm
How many applications for lash lift and brow lamination?
About 15-20 applications.
Handmade pen
What are the advantages of microblading disposable pen over ordinary microblading disposable pen?
1. More hygienic: disposable use only, reducing the risk of cross-infection among customers.
2. More precise: the angled pen tip allows the operator to perform very precise micro-carving.
3. More convenient: the pen is discarded after opening and use, and no cleaning and disinfection are required.
4. More efficient: it reduces the time to prepare and clean the tools, shortening the operation time.
Customized service
What if I can't reach the custom minimum order quantity?
We have a minimum order quantity requirement for customized products, which depends on the printing or process or raw material production. The minimum order quantity is calculated separately for each design style. If your order quantity is less than the minimum order quantity, we suggest that you can first order the outer packaging or raw materials according to the minimum order quantity, and then order the finished products in batches, so that your packaging or raw materials can be used in multiple orders.
Perm and dyeing kit
How do I make eyelash lift and tint at the same time?
1. Clean the eyelashes and skin around the eyes with clean water and cotton pads.
2. Apply glue to the back of the silicone perm rod and stick it on the upper eyelid. After the silicone perm rod is fixed on the eyelid, cover the lower eyelashes with the eye patch.
3. Apply glue to the surface of the silicone perm rod, use a Y-shaped brush or a separate tool to stick the eyelashes on the silicone perm rod, and comb the eyelashes straight to ensure that the eyelashes do not overlap. After the glue dries and fixes the position of the eyelashes, proceed to the next step.
4. Apply the perm agent to the eyelashes to soften the eyelashes, cover with plastic wrap, and wait for 8 to 10 minutes.
5. Remove the perm agent, apply the neutralizer to shape the eyelashes, cover with plastic wrap, and wait for 8 to 10 minutes
6. Mix dye and developer in a 1:1 ratio.
7. Remove the neutralizer, use a small brush to apply dye evenly on eyelashes, wait for the appropriate time (usually 10-15 minutes) to allow the dye to fully color.
8. Clean the eyelashes and residual glue with a detergent, and remove the silicone perm rod and eye patch.
9. Apply Collagen conditioner to nourish the eyelashes, and you're done!

Professional Pre Inked Eye Brow Mapping String 30m
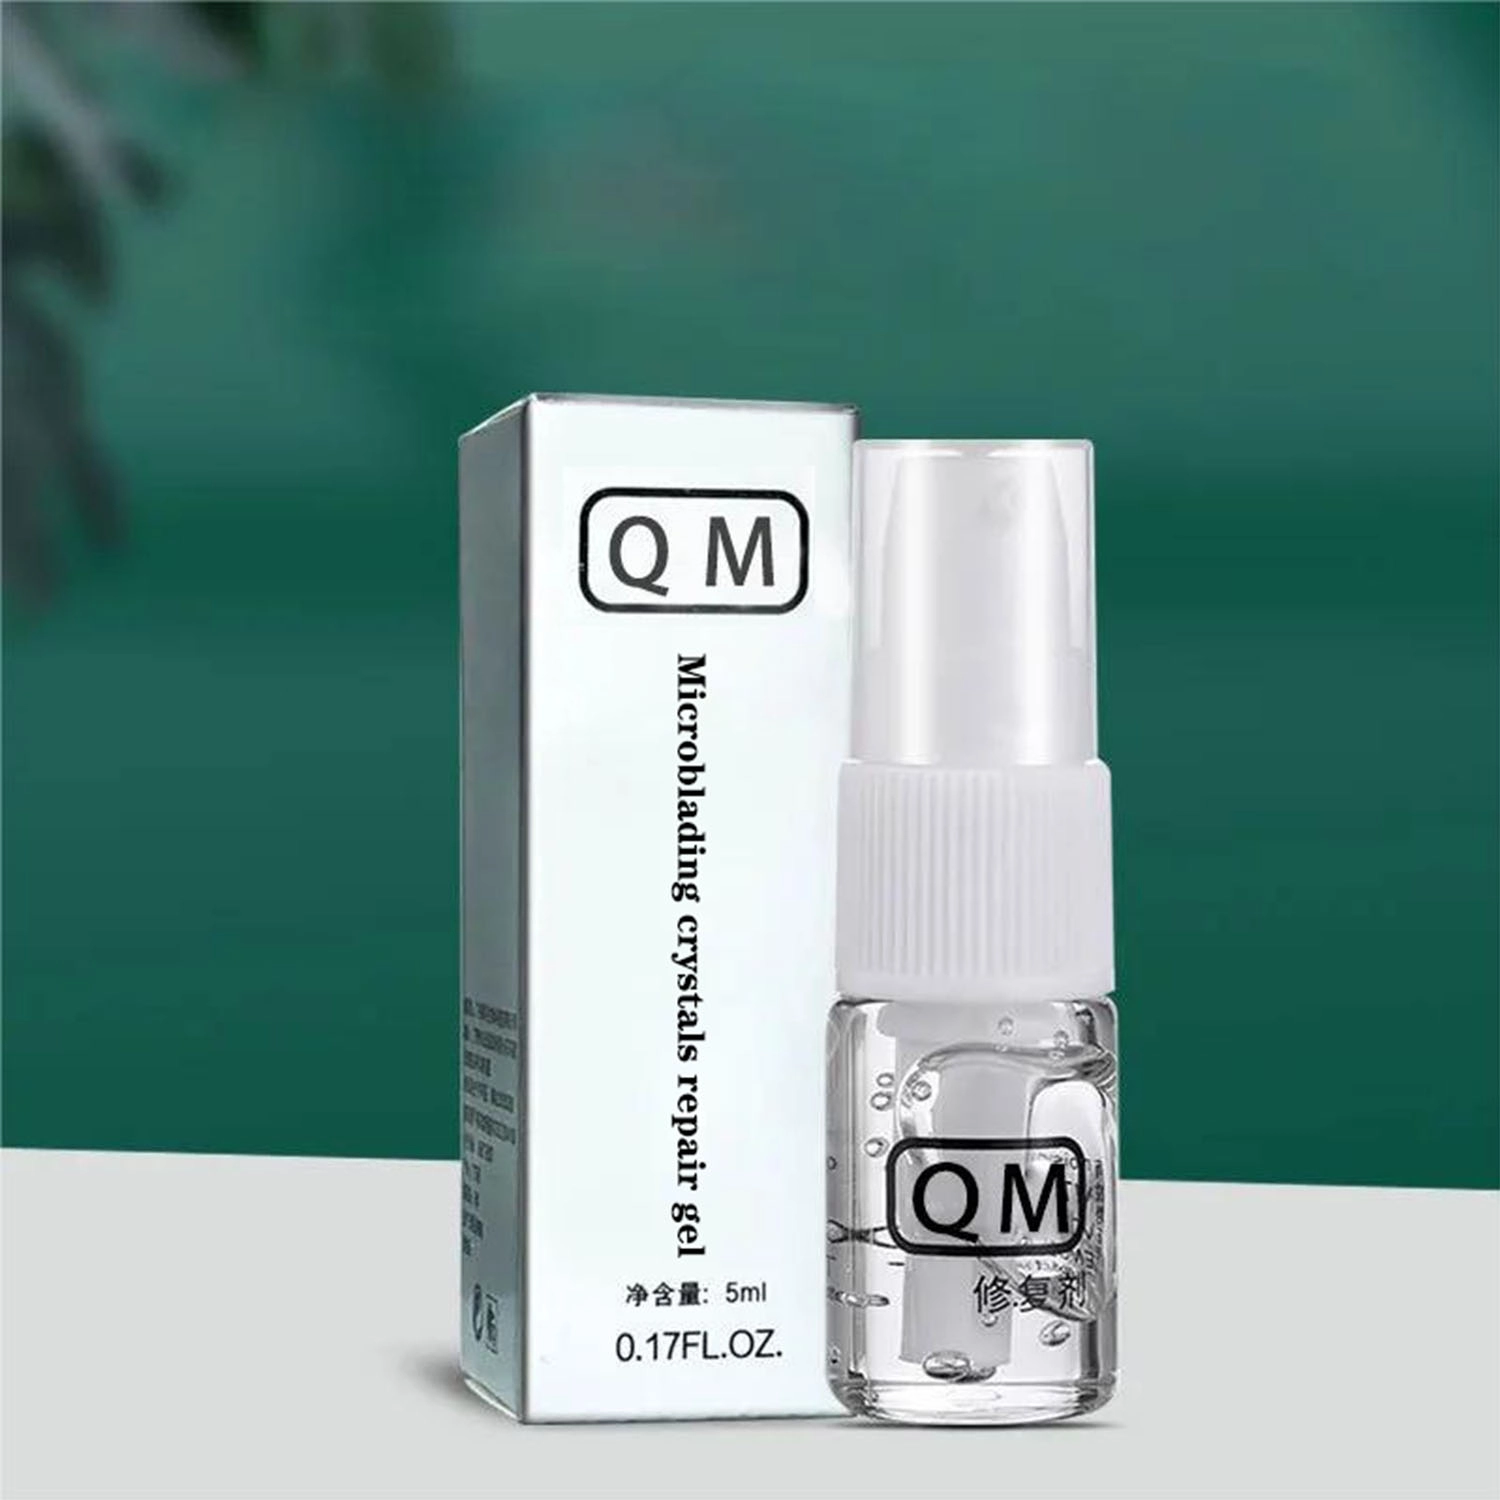
5ml Crystal Anti-scar Repair Serum Gel
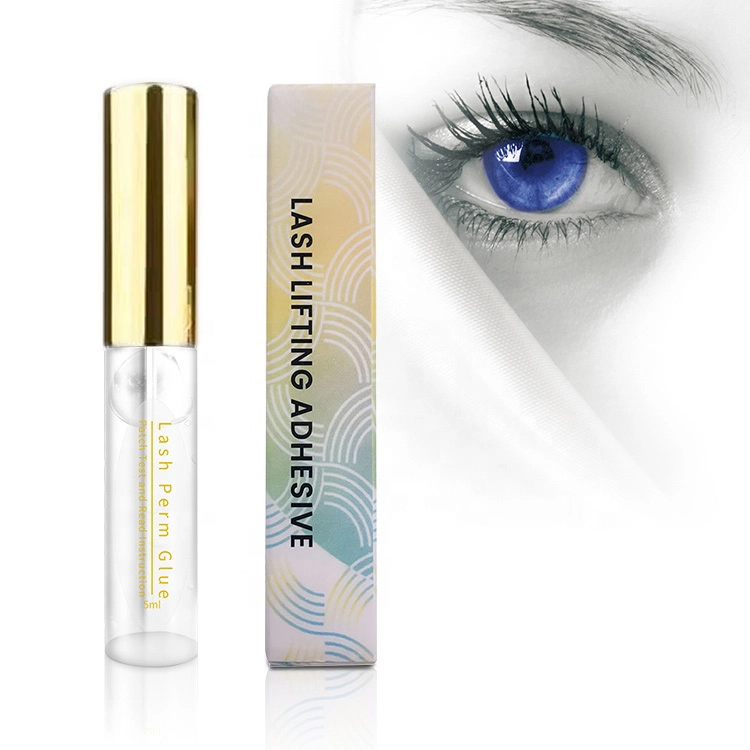
Japan Professional Lash Lift Adhesive
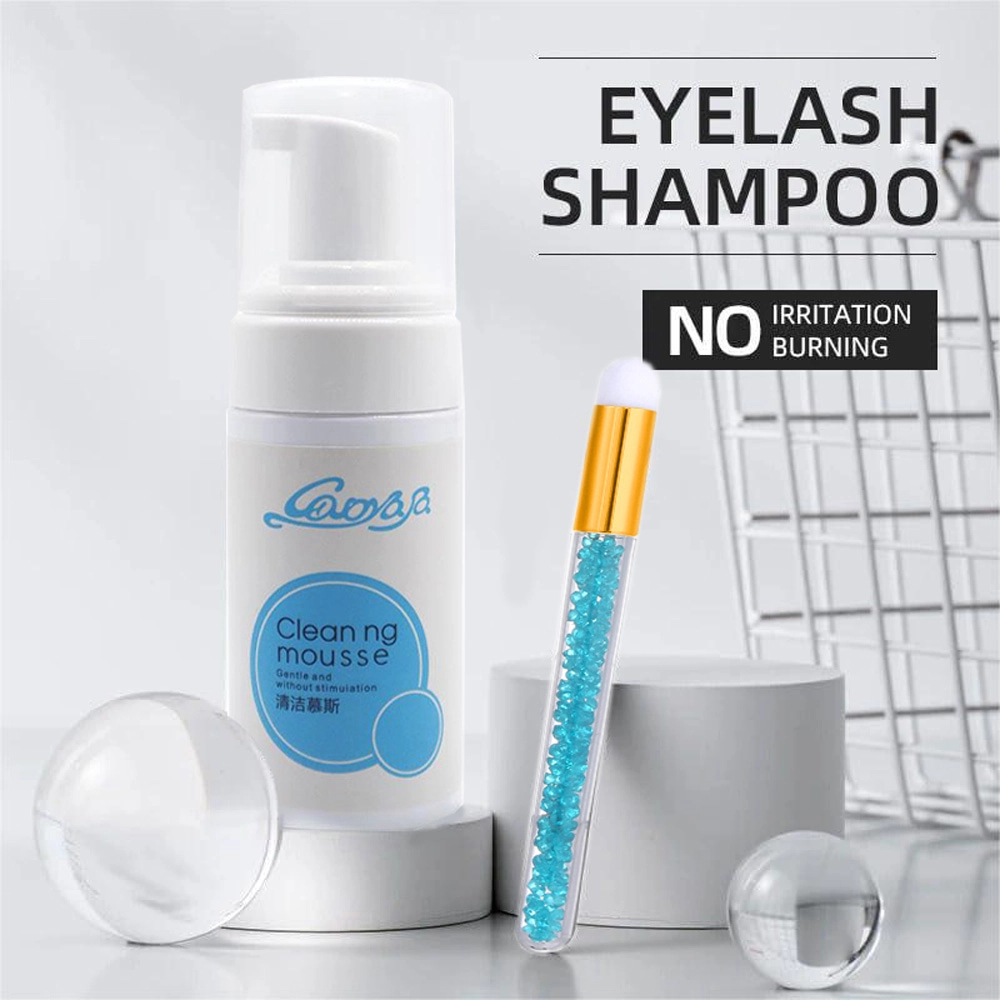
Best Eyelash Extension Cleaning Shampoo
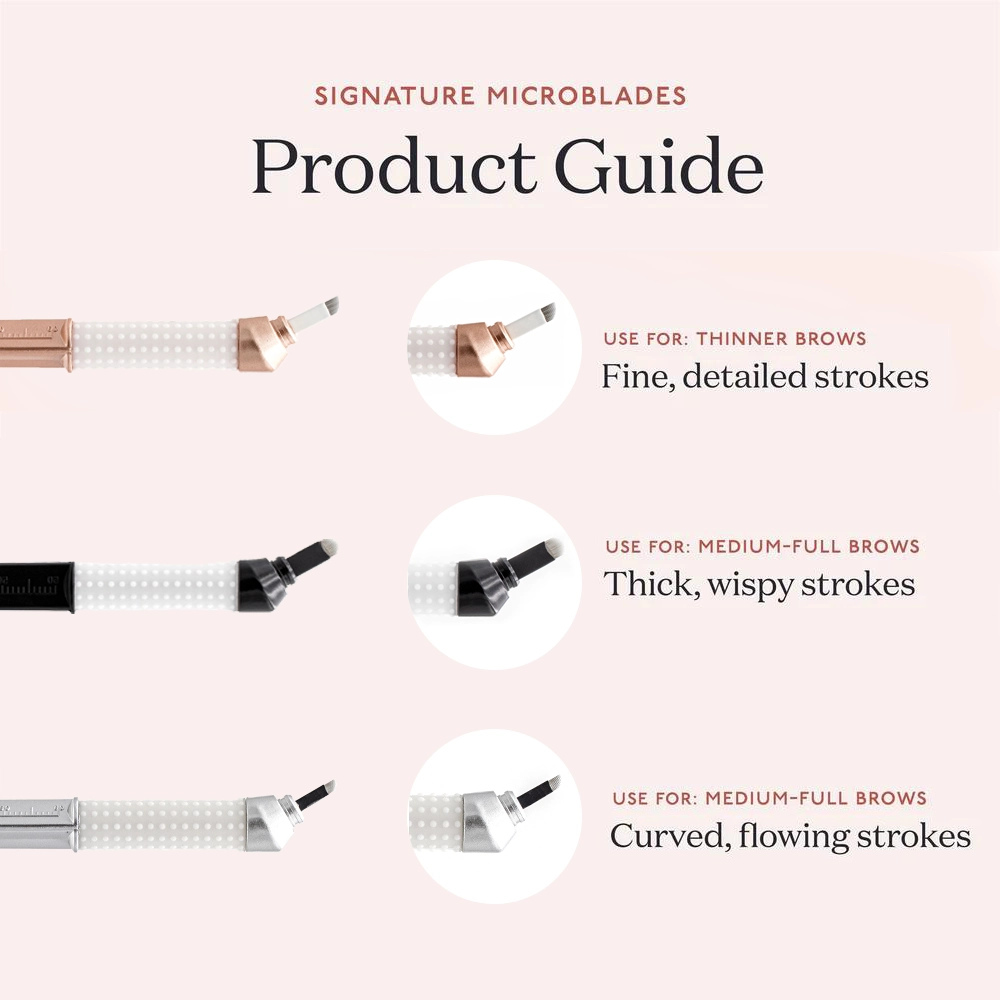
Angled Disposable Microblading Pen for Eyebrows
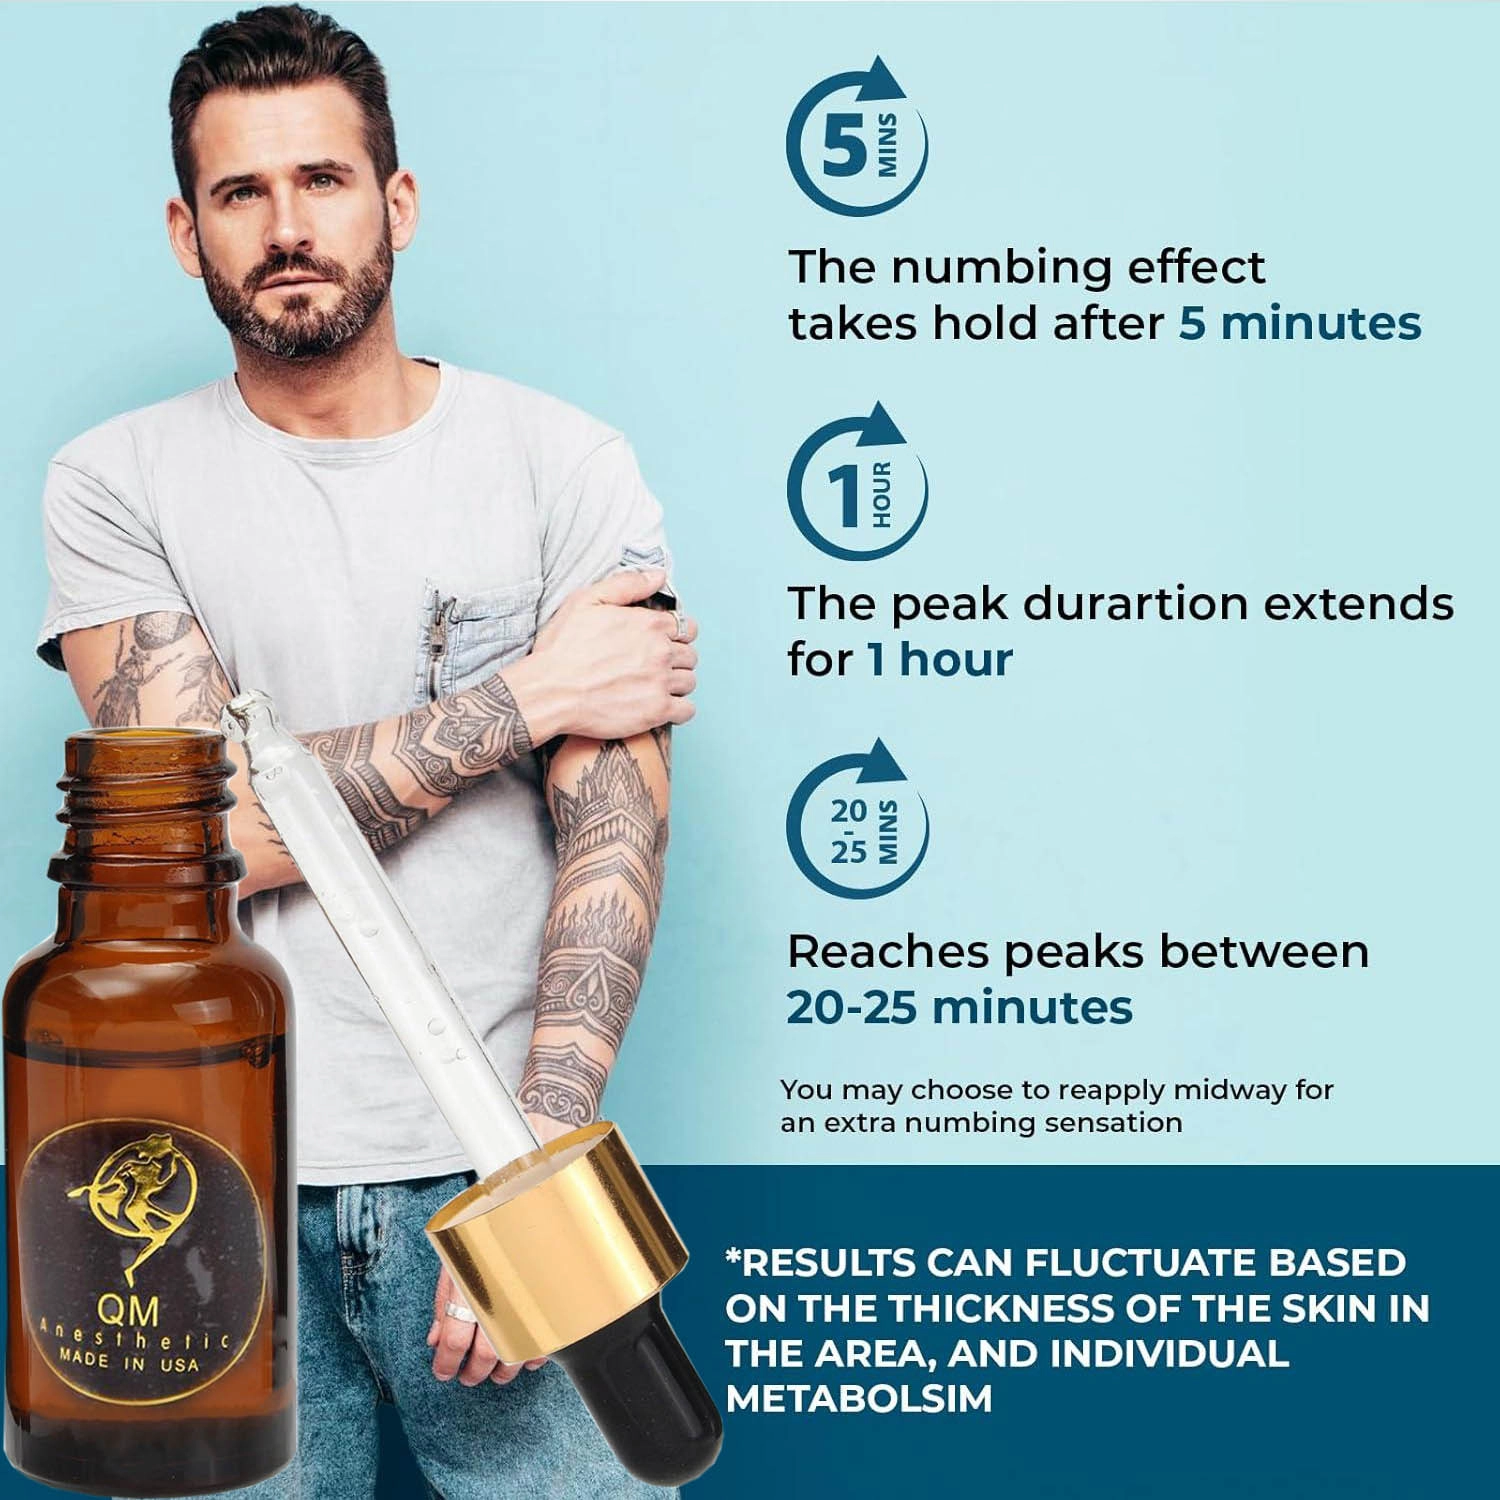
5 Minutes Secondary Numbing Essence
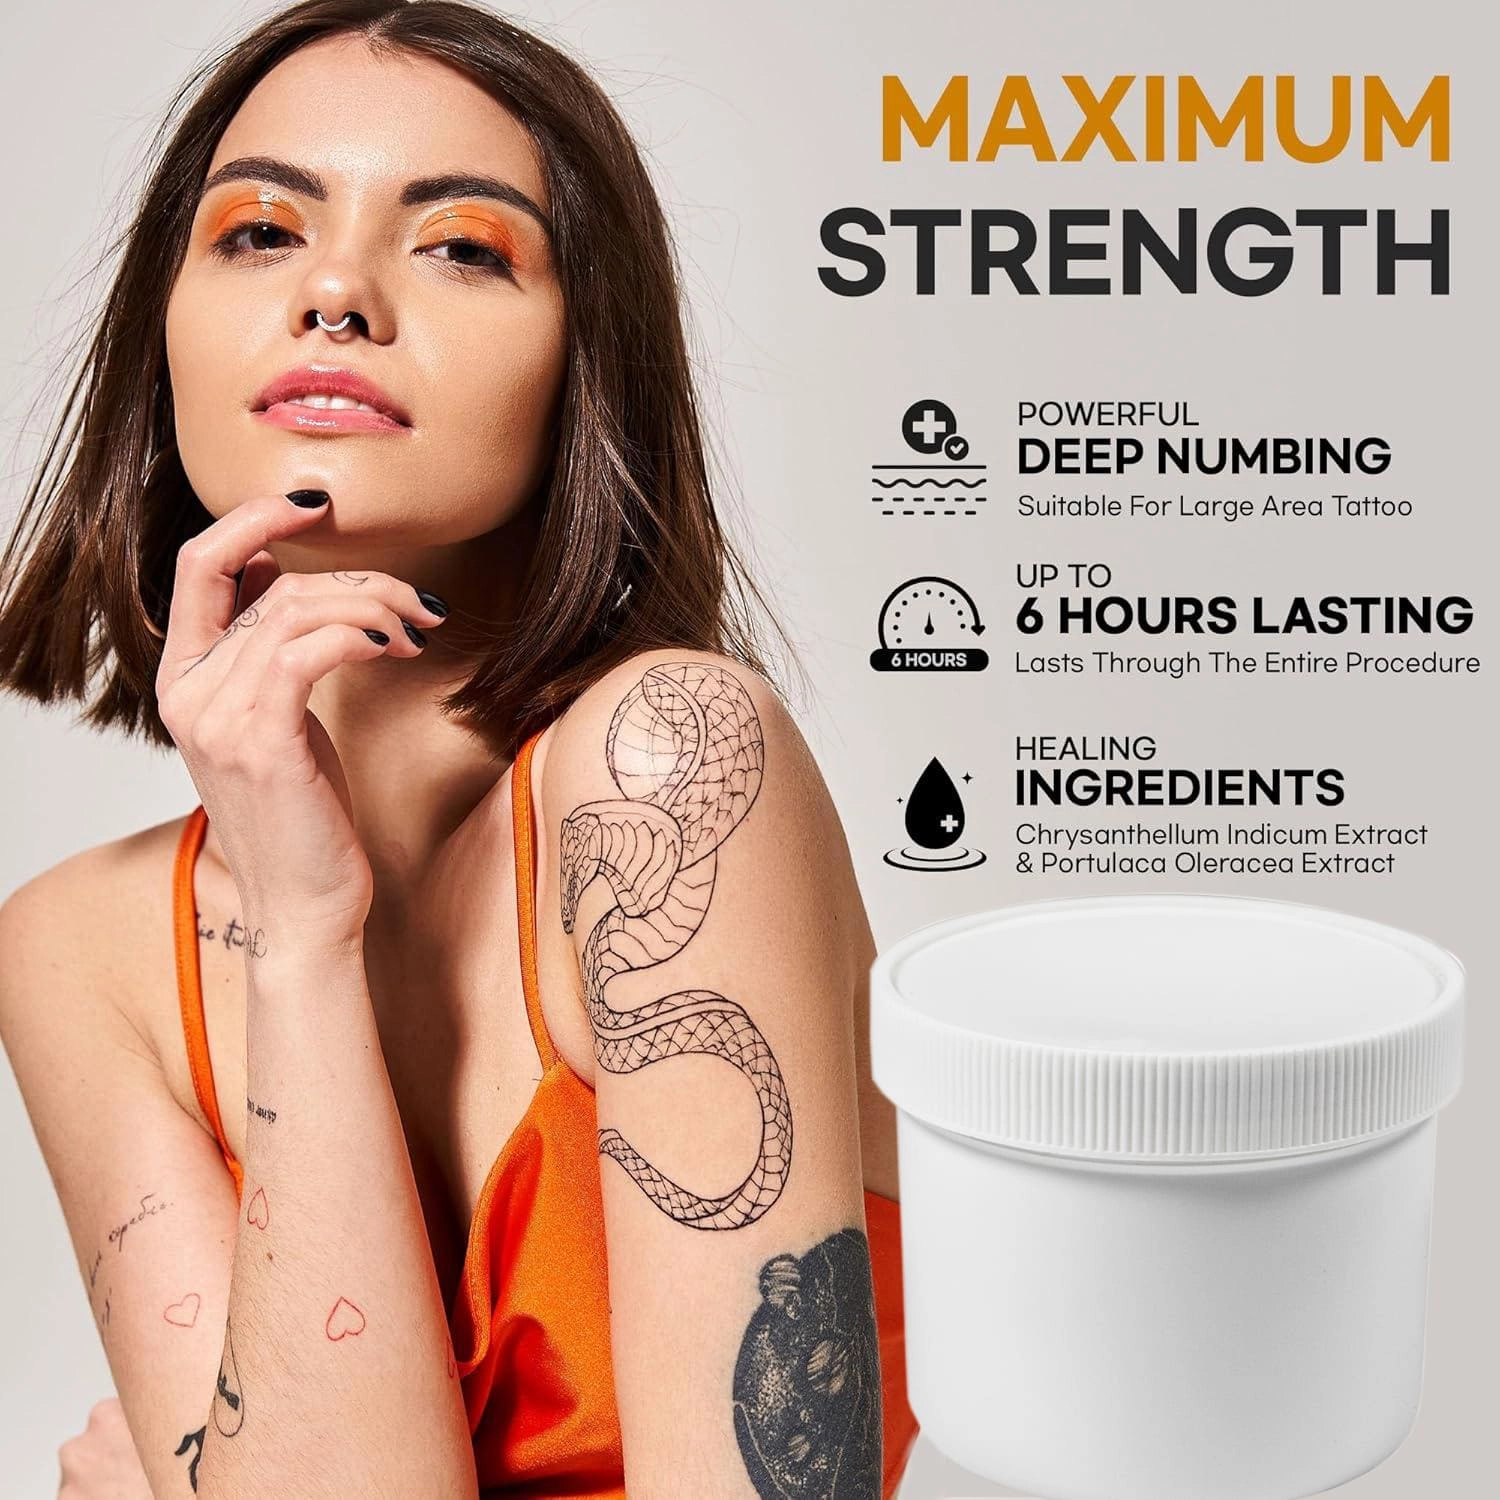
Body Use Super Numb Tattoo Numbing Cream
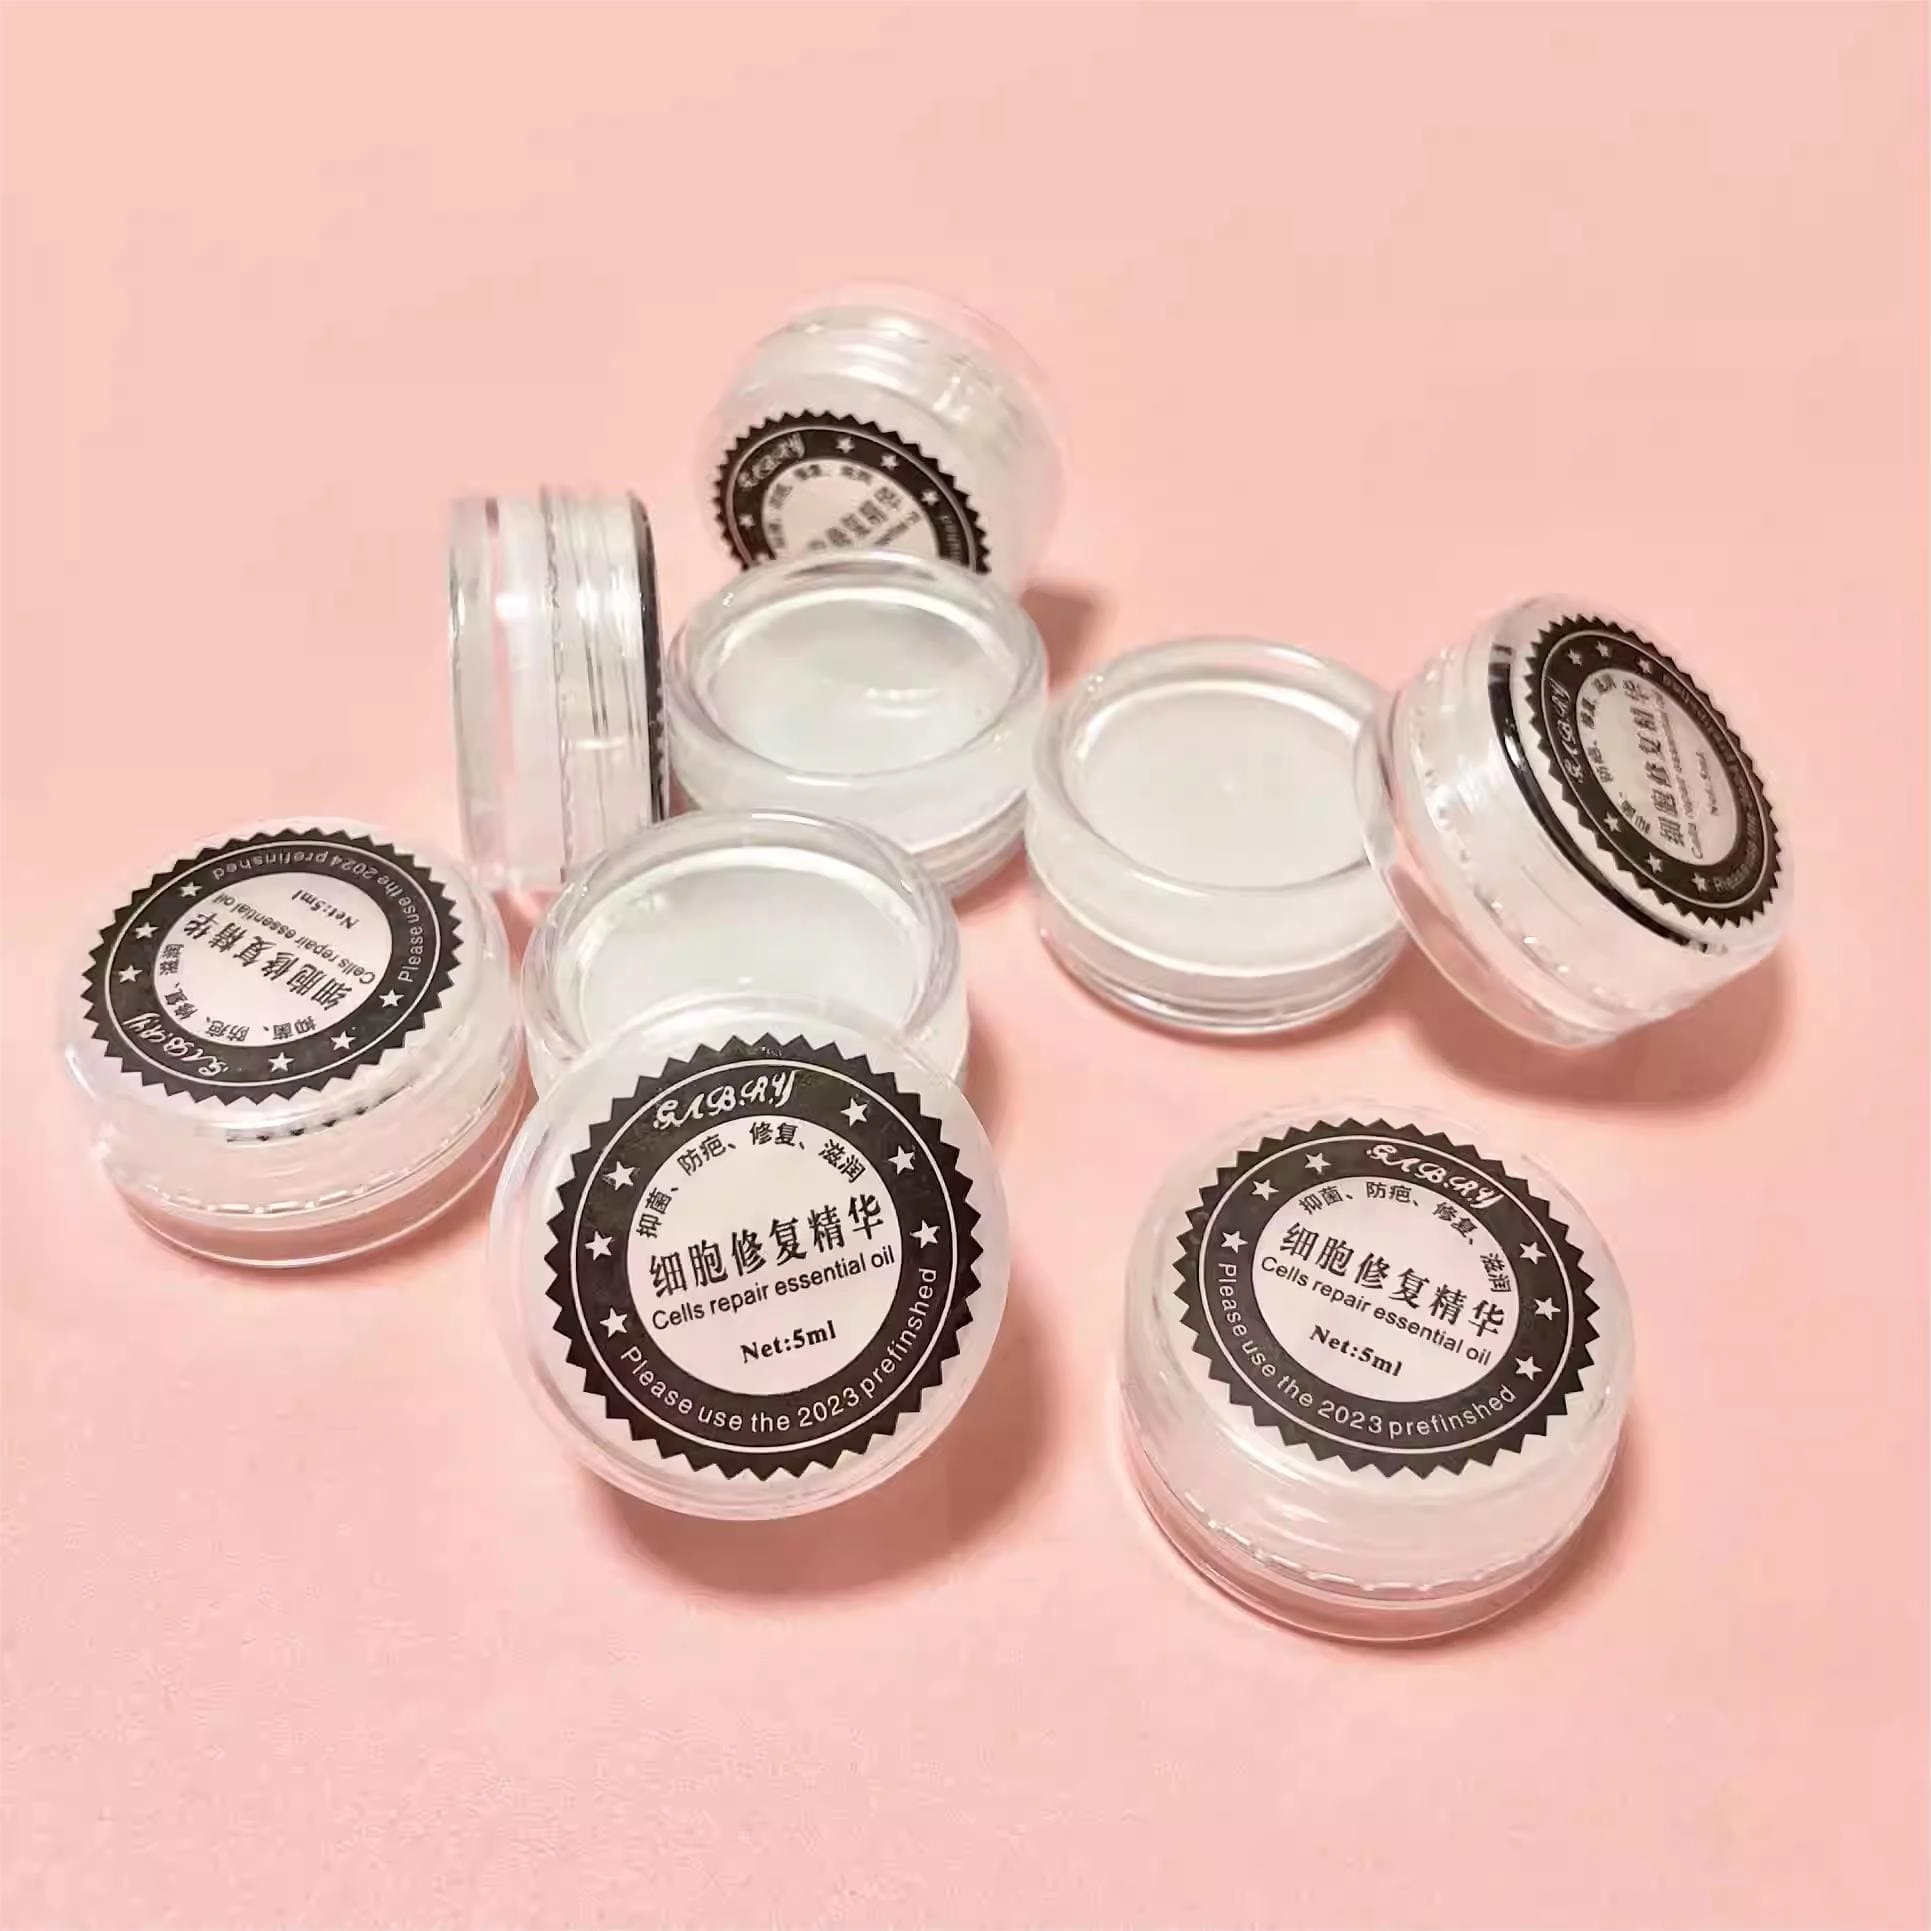
5g Cell Repair Essential Balm
What product do we have?

Instagram
Facebook
YouTube